Creative Tools You Never Knew You Needed
Canva Stock Image
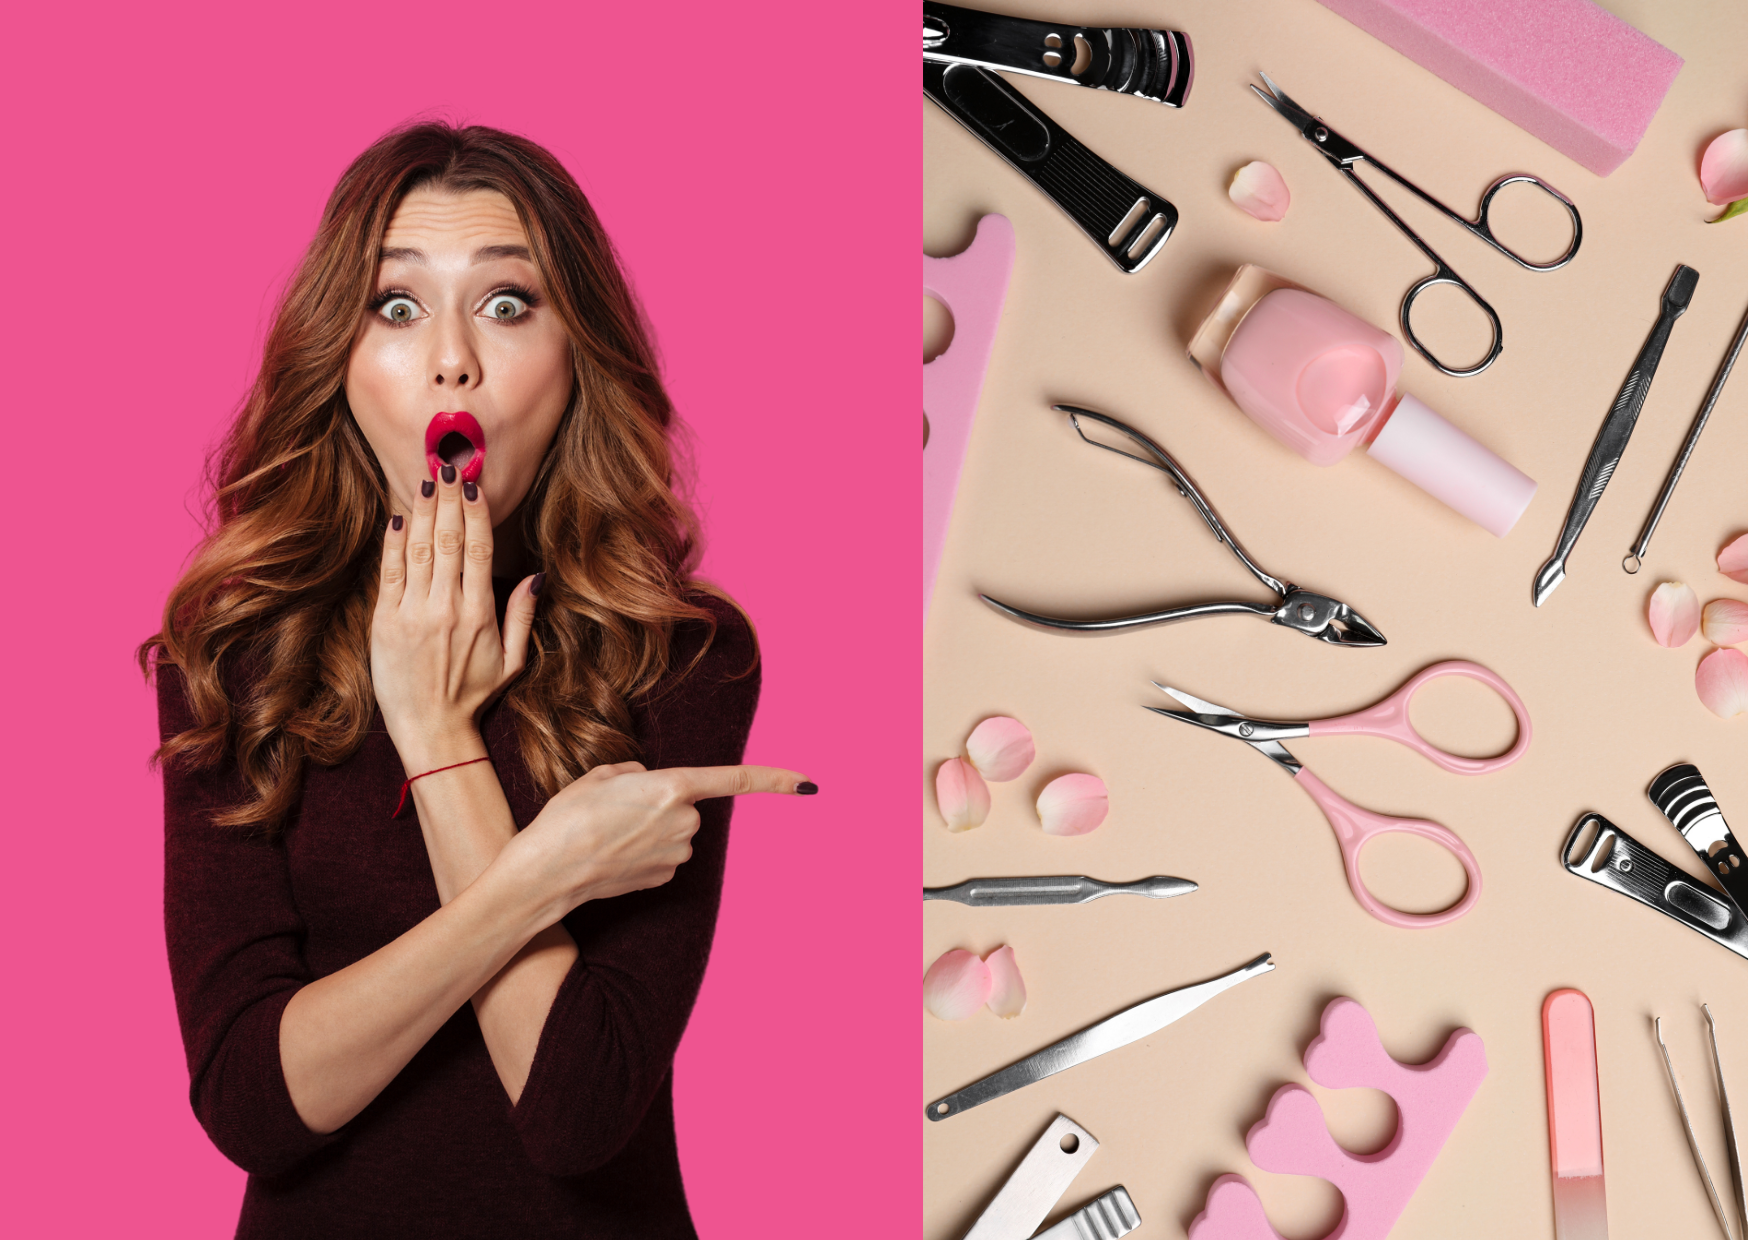
Welcome, nail enthusiasts! Whether you’re a seasoned pro or new to nail wraps, we all know that achieving a flawless application can take a bit of practice. But did you know that beyond the basic tools—like a nail file and cuticle pusher—there are some unexpected items that can seriously and effectively upgrade your nail wrap game? This post is here to introduce you to a few unconventional tools that can make the entire process smoother, faster, and more fun.
From items you might already have around the house to creative beauty hacks, these tools will help you achieve picture-perfect nails without the hassle. Think of them as secret weapons in your manicure arsenal! Whether you’re struggling with bubbles, aiming for a more durable finish, or simply looking for ways to speed things up, these suggestions will give you the edge.
Plus, for those of you working on perfecting your at-home manicures, knowing these tools will set you apart. Not only will they make the application easier, but they’ll also help your wraps last longer, ensuring Instagram-worthy nails every time. Ready to unlock the potential of everyday items and make your nail wrap experience even better? Let’s dive into the surprising, game-changing tools you didn’t know you needed!
Unexpected Tools for Nail Wrap Application
When it comes to applying nail wraps, the tools you use can make a huge difference in achieving a long-lasting manicure. While traditional nail tools get the job done, many unexpected yet creative tools can elevate your nail wrap experience! These tools can make the process smoother.
From simple household items to crafting tools and random ones, there’s no limit to what you can use to enhance your manicure. Whether you’re looking for precision, creativity, or efficiency, these unexpected tools offer new ways to get the most out of your nail wraps! And the best part? Most of these are already in the comfort of your home, ready to be repurposed for your next nailventure! 💅
Expect the Unexpected #1 - Household Tools
Applying nail wraps is a breeze, but did you know that some everyday household tools can make the process even smoother? Yep! Things like tweezers, toothpicks, nail buffers, hairdryers, and even tape can be total game-changers. Whether you're new to nail wraps or a seasoned wrap-lover, these items might already be hiding in your drawers, just waiting to help you achieve the perfect manicure. Let’s dive into how these ordinary tools can turn into your unexpected nail wrap heroes!
Tweezers – Your Precision Partner
Canva Stock Image
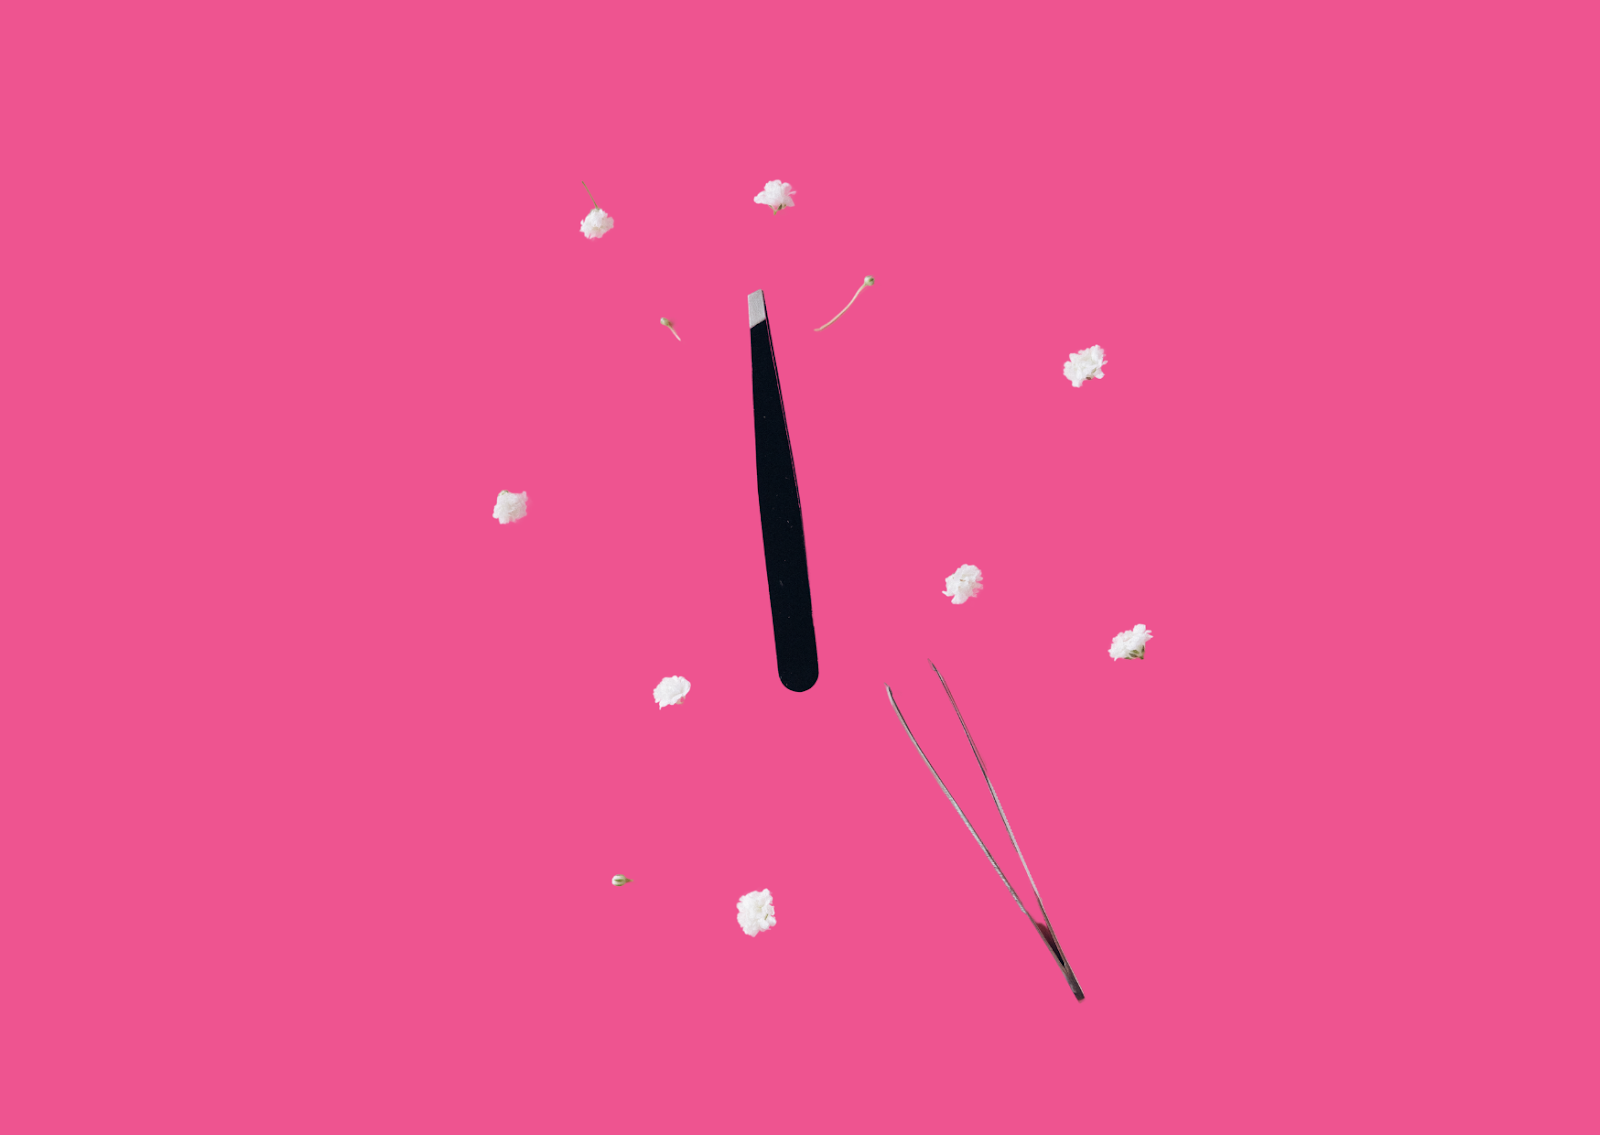
Tweezers aren’t just for eyebrows! These little guys are perfect for applying nail wraps. If you’ve ever struggled to position a wrap just right, tweezers give you that extra bit of precision. Use them to pick up, adjust, and smooth down wraps without smudging your work. Bonus: They help avoid those pesky fingerprints on the adhesive side, so your wraps stick better and last longer!
Pro tip: Use pointed or slanted tweezers for delicate adjustments to really nail that perfect fit.
Toothpick – A Tiny, Mighty Tool

Canva Stock Image
When it comes to tiny details, a toothpick is your best friend. If your wraps need a little extra push around the edges or into tight spaces (like the sides of your nail bed), a toothpick is the perfect helper. Plus, you can use it to pop tiny air bubbles under the wrap without damaging it.
Quick Fix: Use a toothpick to gently lift a wrap if it sticks in the wrong spot during application—no stress needed!
Nail Buffer – Smooth Before You Stick
Canva Stock Image
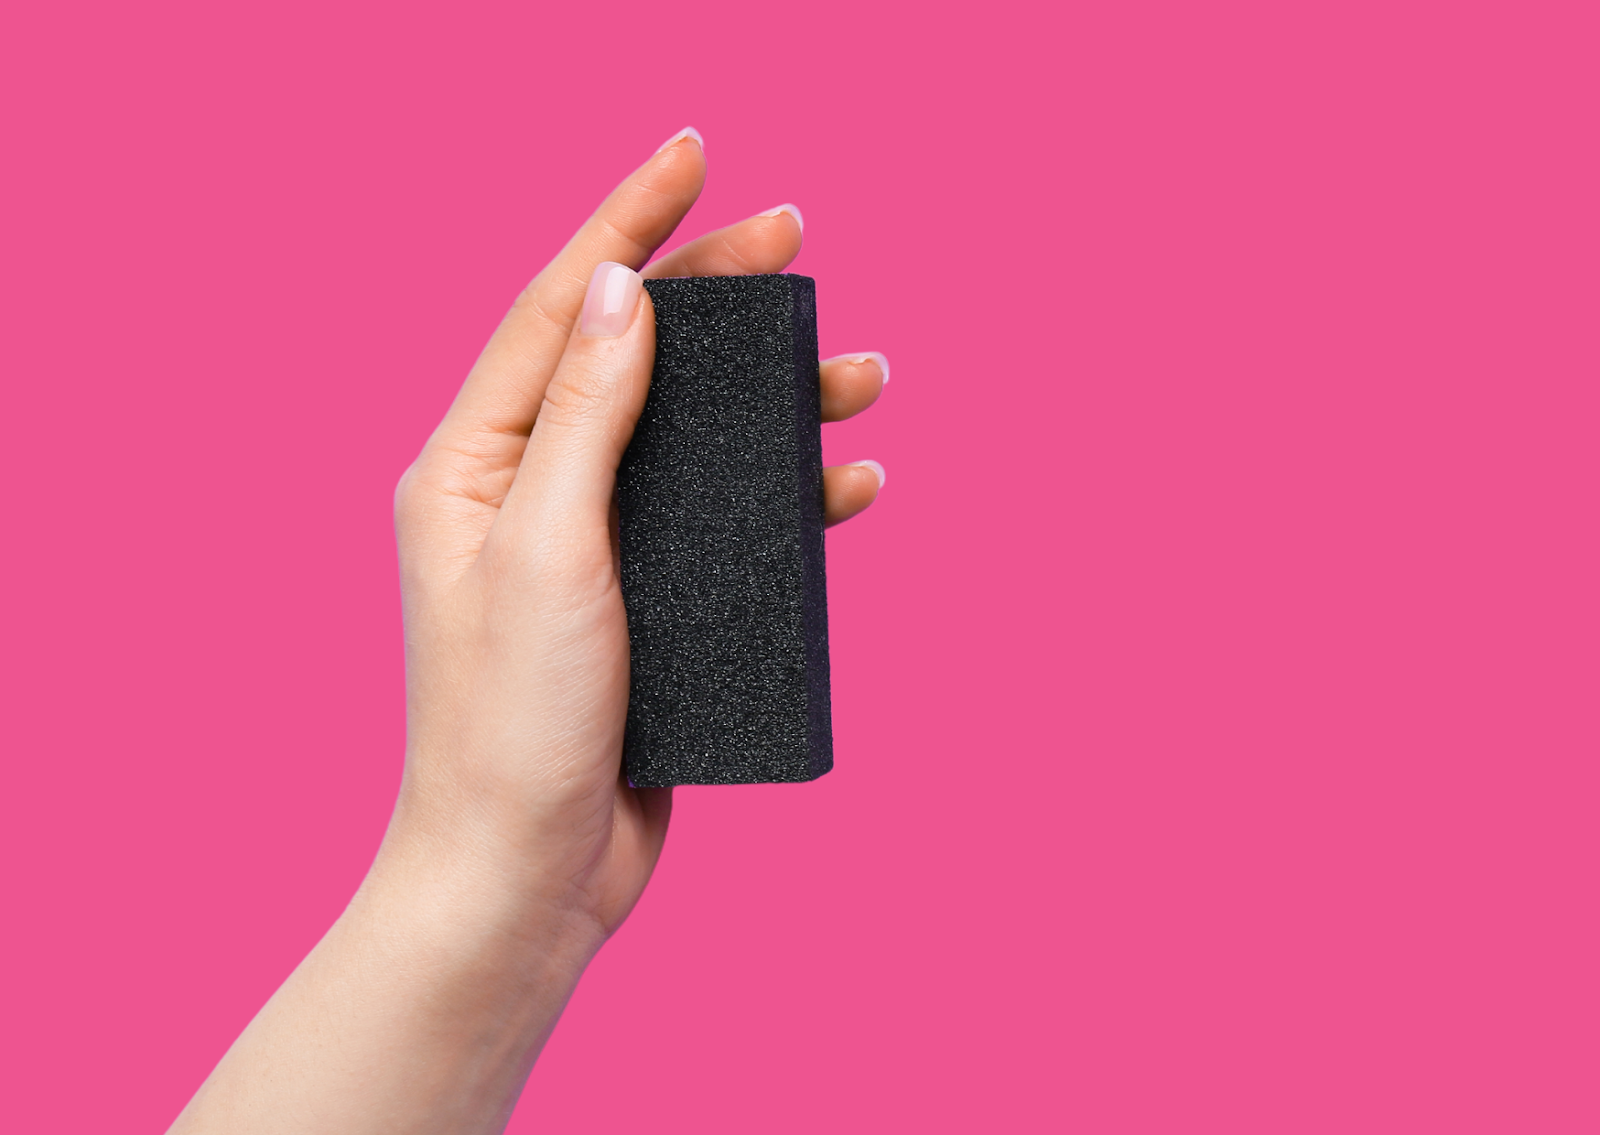
Smooth nails are key to long-lasting nail wraps. A nail buffer makes sure your nail surface is free of ridges or oils, giving wraps a flawless surface to adhere to. Lightly buffing also removes any leftover residue from previous manicures, which helps the wraps stick even better.
Pro tip: Buff gently—you only need to smooth, not sand! Over-buffing can weaken your nails.
Hairdryer – Heat for a Perfect Fit
Canva Stock Image
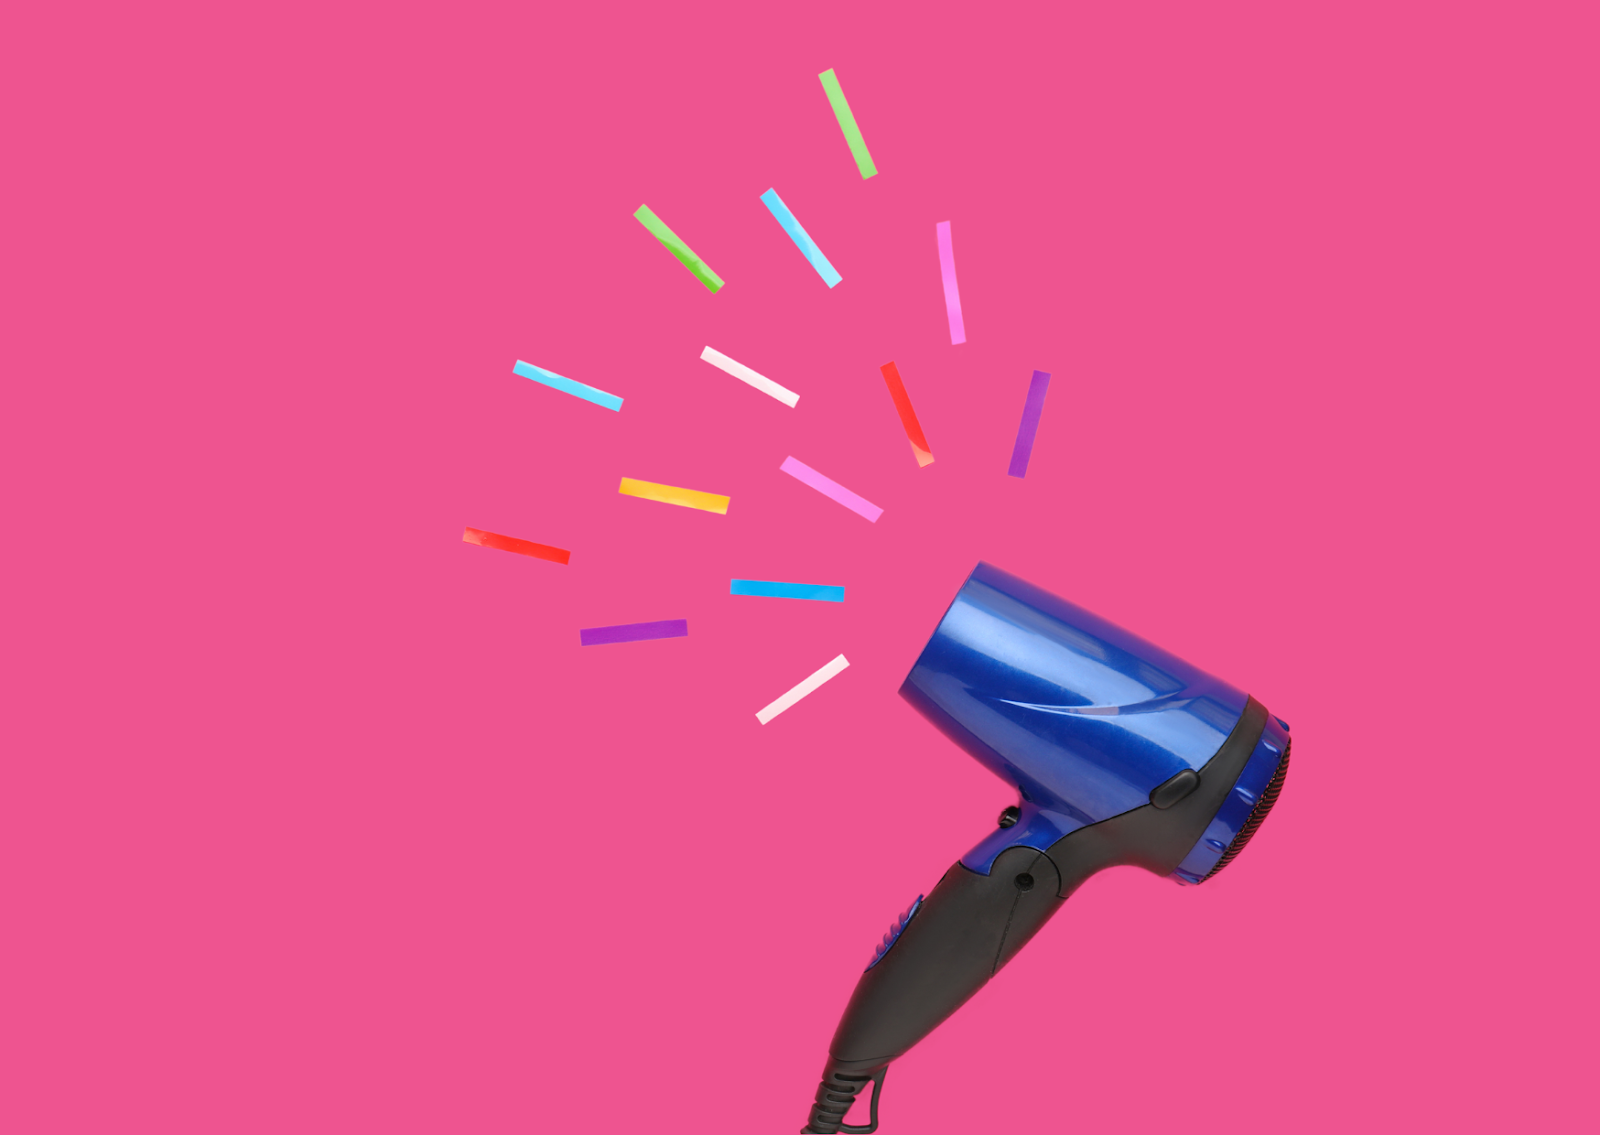
A hairdryer is a must-have for anyone serious about nail wraps! The heat softens the wraps, making them more flexible and easier to apply without wrinkles. A few seconds of warm air helps the wrap mold to the curve of your nail and enhances adhesion, keeping your wraps intact for longer.
Pro tip: Keep the dryer on low heat and hold it a few inches away to avoid overheating your nails.
Tape – A DIY Stencil or Clean-Up Tool

Canva Stock Image
Surprise! Tape can be incredibly useful during your nail wrap sessions. You can use it to create fun stencil designs by cutting out shapes and layering the wraps, giving your manicure a unique twist. Tape is also great for cleaning up any stray adhesive if a wrap sticks to your skin—just press the tape on the area, and it’ll lift the excess glue right off.
Pro tip: Washi tape works best for stencils because it’s easy to cut and remove without leaving residue.
Additionally, you can use tape to trim the wraps to fit your nails perfectly.
You can try the steps below (depending on the design) so you won't be cutting off too much of the design:
-
Place a piece of tape on your nail;
-
Trace your nail with a pen;
-
Remove the tape and place it on the back of the wrap;
-
Cut the nail wrap following the trace you did earlier. Try not to cut off too much of the design at the tip if possible.
Expect the Unexpected #2 - Beauty Tools
When it comes to applying nail wraps, you might think you only need the basics: a cuticle pusher and a nail file. But did you know some beauty tools you already own can make the process even smoother? Let’s explore a few unexpected helpers:
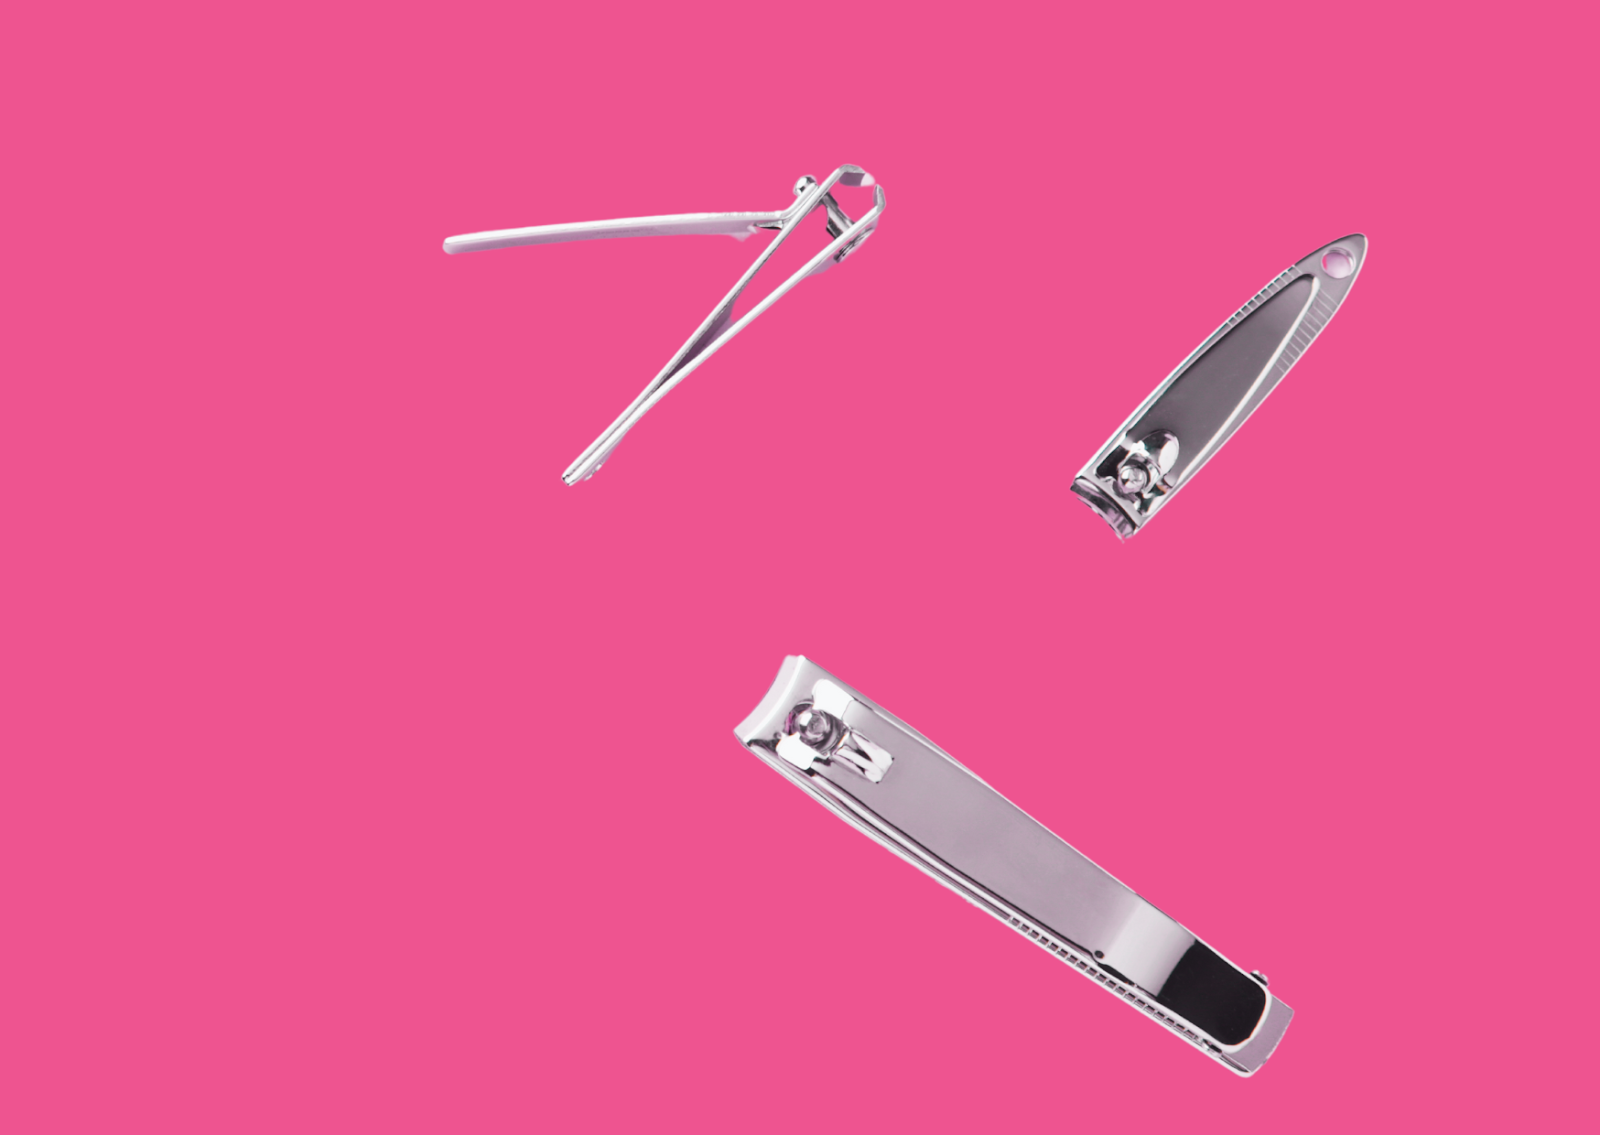
Nail Clippers
Canva Stock Image
Nail clippers aren’t just for trimming your nails—they're perfect for quickly snipping off excess nail wrap after application. This trick helps keep the wrap smooth at the edges, preventing any snags or peeling. Plus, it’s quicker and more precise than filing alone, saving you time while keeping things tidy.
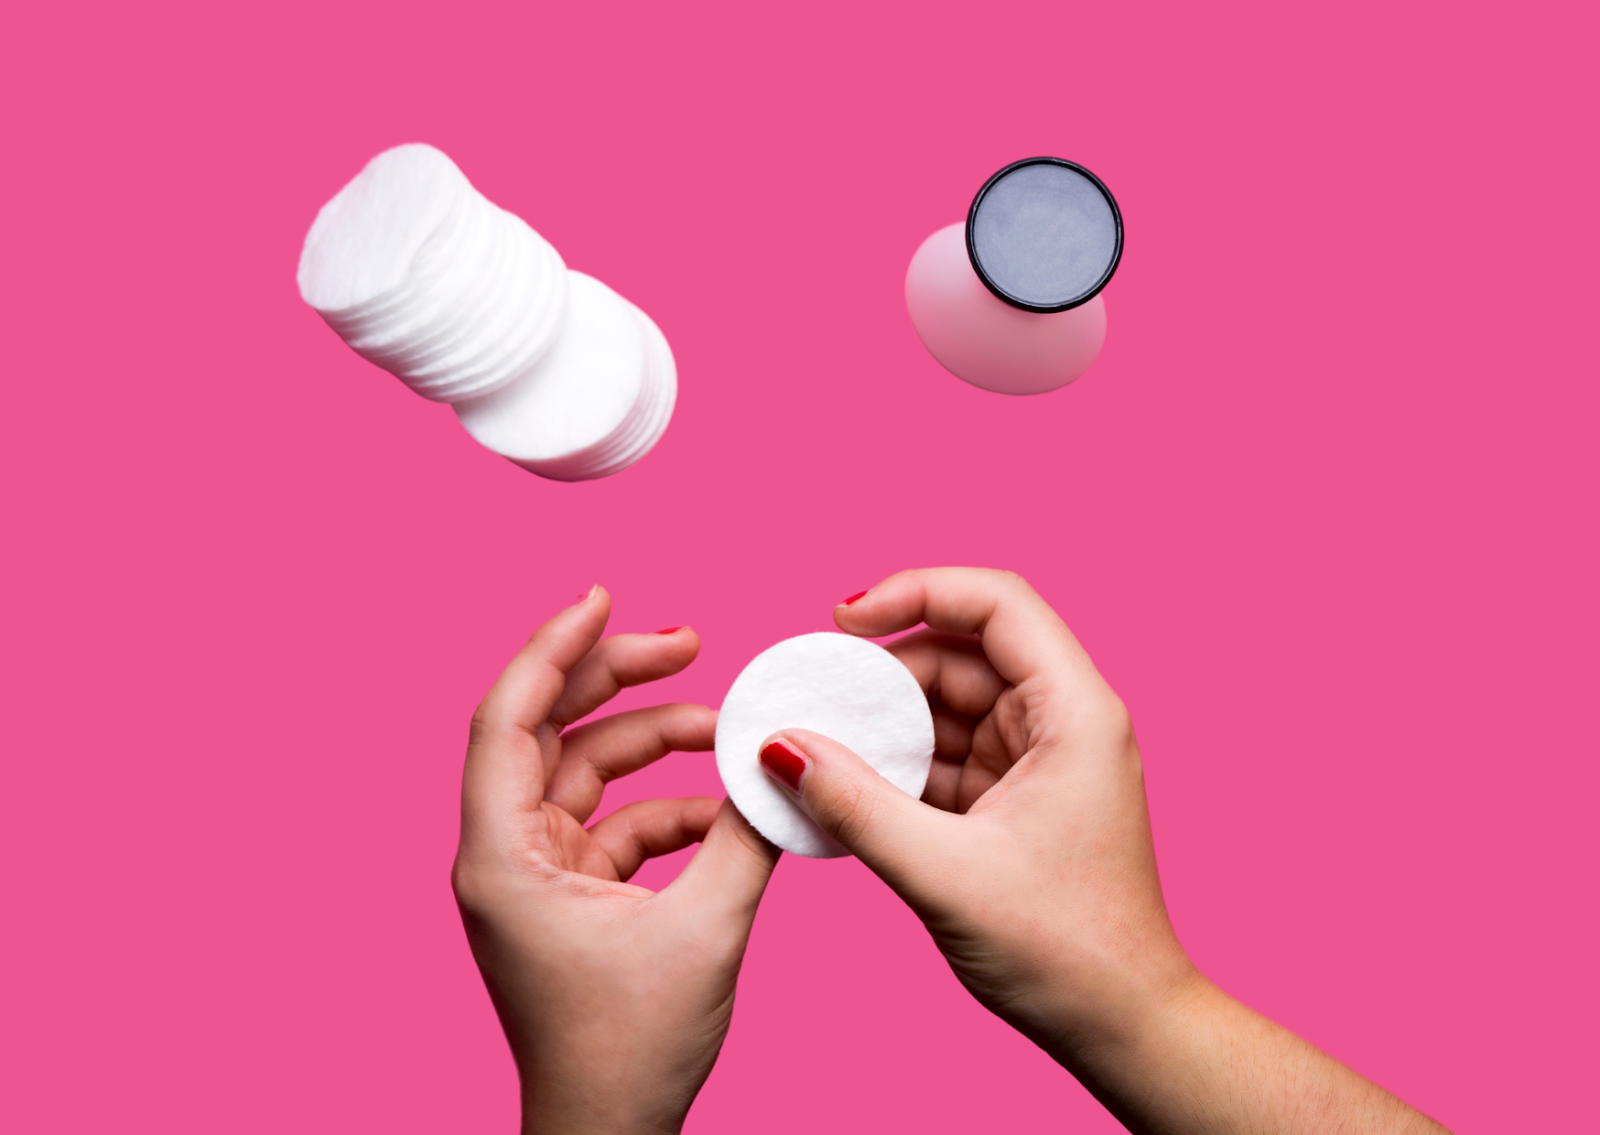
Nail Polish Remover
Canva Stock Image
Wait, nail polish remover for wraps? Absolutely! Even though nail wraps don’t require polish, a swipe of remover before application is a pro tip. It helps cleanse your nails by removing oils and residue that can interfere with the wrap’s adhesive. If your wraps accidentally misalign, a bit of remover on a cotton swab can also help lift the edge for quick repositioning.
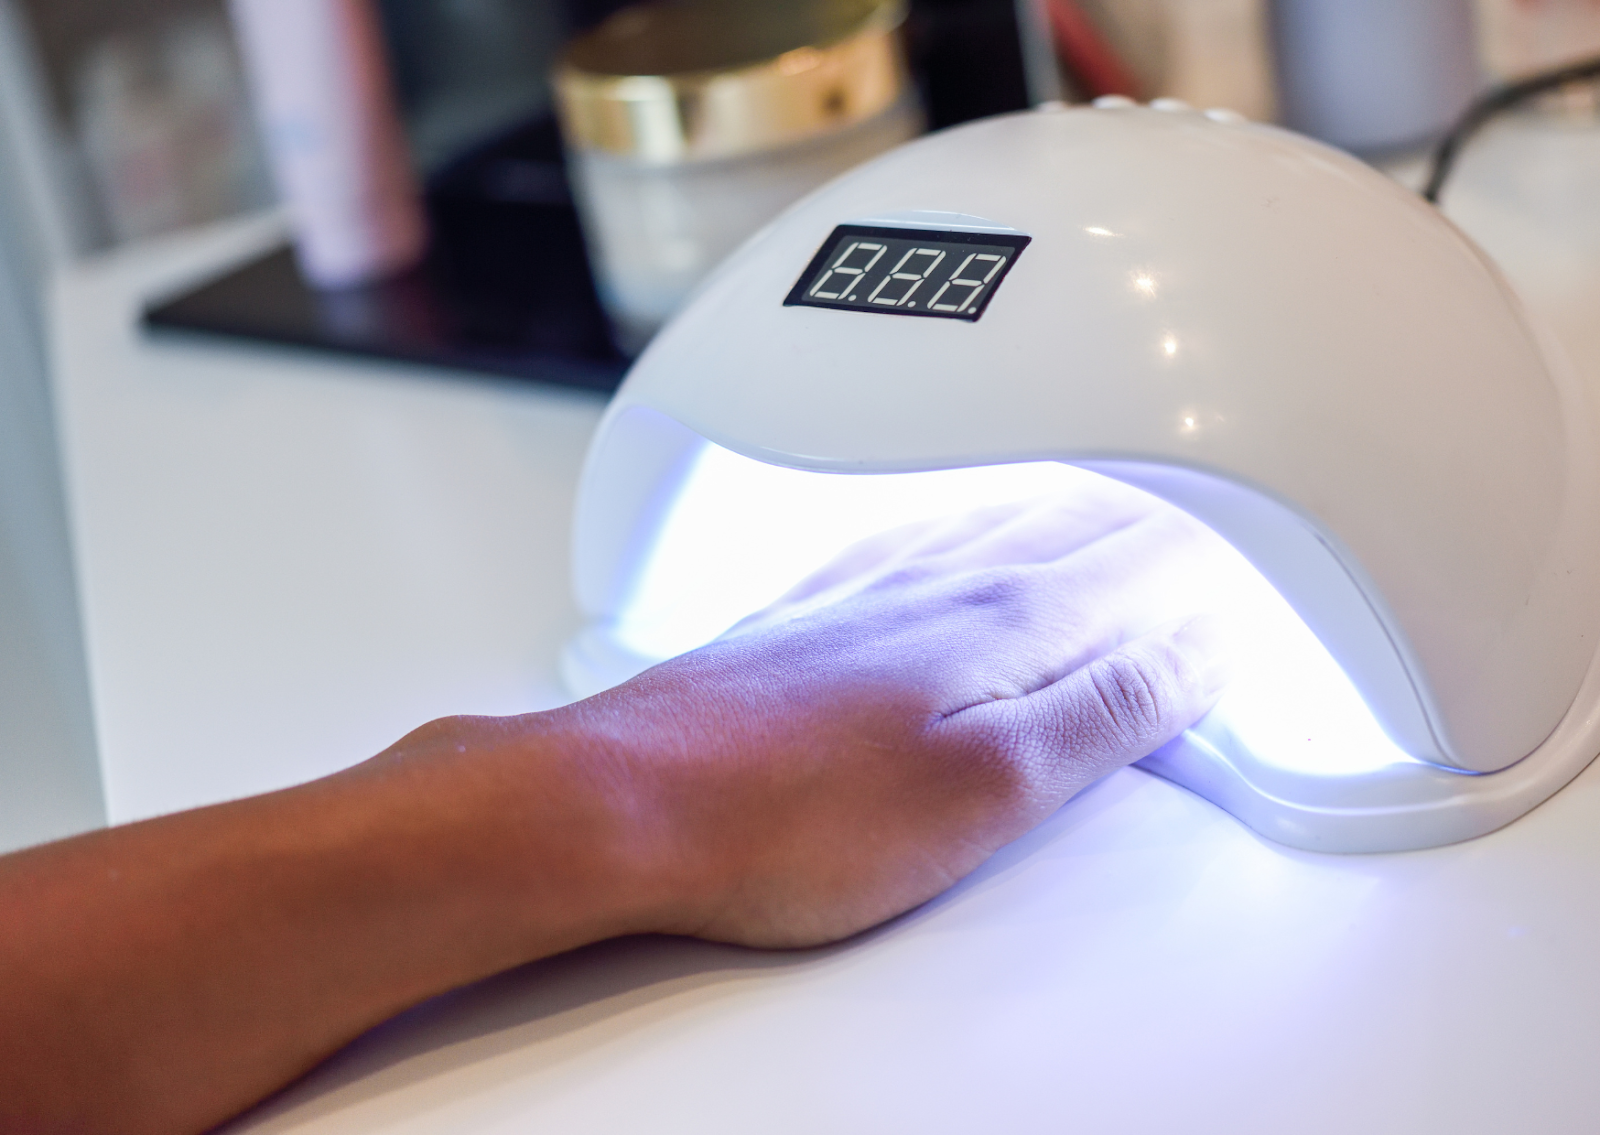
UV Lamp
Canva Stock Image
Who says UV lamps are only for gel polish? Using one after applying your wraps can help heat-seal them in place. The warmth makes the adhesive bond stronger, reducing the chances of lifting. This trick is especially helpful if you’re applying wraps before heading to a long event or vacation and want them to last extra long.
Silicone Nail Clips
These clips can help in holding your wraps firmly in place during your application process. This is useful when applying heat to the wraps, as the clips help mold the wraps to the shape of your nail to prevent premature bubbling and lifting.
These tools, though not traditionally associated with nail wraps, can make your application process easier, faster, and more effective. Give them a try, and enjoy a flawless manicure every time!
Expect the Unexpected #3 - Creative Tools
Another way to simplify your nail wrap application process is the use of creative tools! These not only add precision and a touch of flair to your application but also open new possibilities for custom designs and flawless finishes.
Stencils: Perfect Patterns Every Time
Who says stencils are just for arts and crafts? Using stencils as a guide while applying nail wraps can help achieve clean edges or fun accents.
How to use: Place a stencil over your nail and carefully apply your wrap for a two-tone effect or geometric pattern.
Pro tip: If you’re doing nail art or layering wraps, stencils make it easier to create trendy designs like chevrons or hearts with minimal effort.
Craft Punches
Scrapbooking punchers aren’t just for paper! You can use them to create custom shapes or designs out of your leftover nail wraps.
How to use: Cut a piece of wrap to fit into the punch and create fun designs like hearts, stars, or other shapes that can be added to your base nail wraps for a unique touch of creativity!
These crafty tools indeed open up a whole new world of customization and make it easy to experiment without the need for a steady hand or intricate drawing skills.
Expect the Unexpected #3 - Random Tools
Tweezers, Toothpicks, and Floss Picks
Sometimes, the perfect tool isn't in a nail kit—it’s hiding in a bathroom drawer or kitchen cabinet! Everyday items like tweezers or toothpicks can be surprisingly helpful during wrap application.
-
Tweezers: Use these to precisely place nail wraps without smudging them with your fingers.
-
Toothpicks: These are great for smoothing out bubbles or wrinkles along the edges of the wrap.
-
Floss picks: Perfect for lifting the edges of a wrap for adjustments without damaging it.
Next time you're stuck, look around the house. You might already have everything you need for the perfect mani!
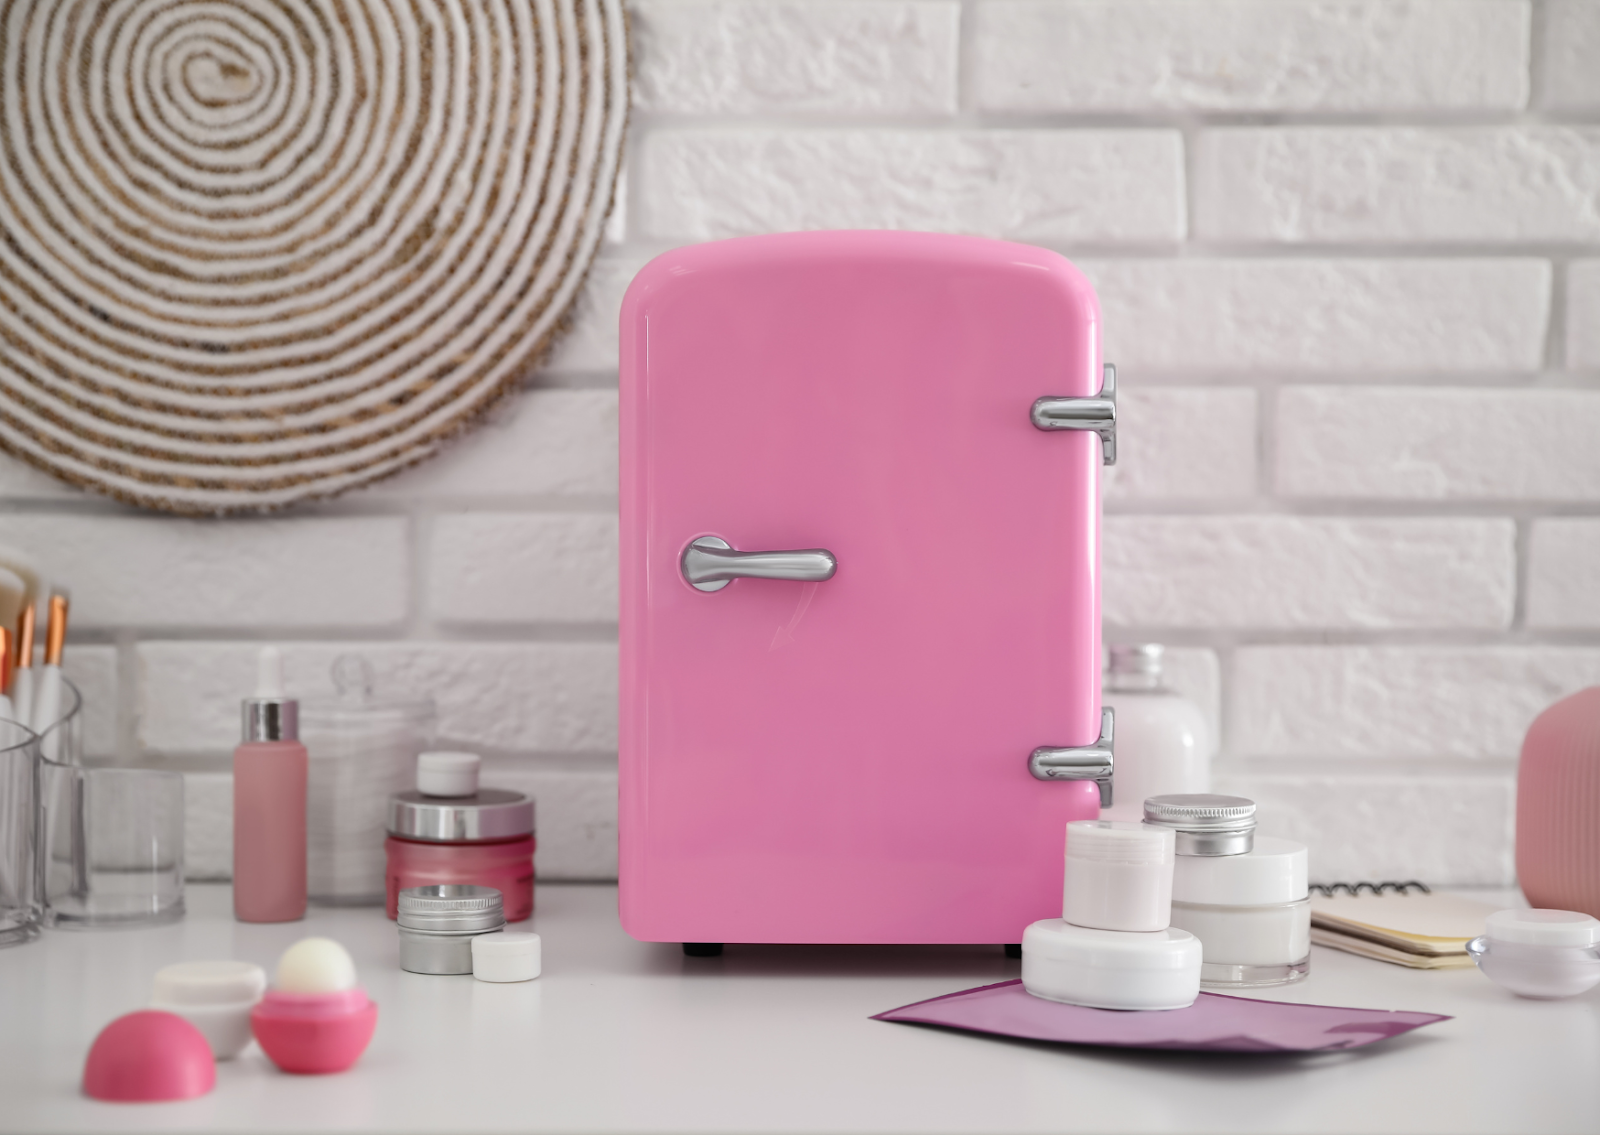
Fridge: Remove That Stubborn Clear Plastic
Canva Stock Image
Every nail wrap lover knows about the pesky clear plastic layer that covers the wraps. While it protects them, it can also be tricky to peel off without messing things up. This is where your fridge comes in handy!
How it works: Pop your nail wrap sheet into the fridge for a few minutes. The cold temperature makes the plastic layer easier to peel off smoothly, avoiding wrinkles and accidental tears.
This cool trick (pun intended!) makes prepping your wraps a breeze.
Body Heat: Reactivating the Adhesive
Did you know that your body heat can help secure a perfect fit for your wraps? If you notice any corners lifting or edges peeling, a little warmth might do the trick.
How to do it: Gently press the wrap with your fingertip or palm and hold it in place for a few seconds. The warmth from your skin reactivates the adhesive, helping the wrap bond better with your nail.
Bonus tip: If you want to be extra thorough, rub your hands together to warm them up before pressing the wraps into place.
This is an excellent hack for keeping your mani flawless when you’re on the go, without needing special tools or glue.
Tips for Using Unexpected Tools
Now, let’s explore some practical tips to help you apply your wraps more easily, cleanly, and creatively! Whether you’re a pro enthusiast or just getting started, these tips in using unexpected tool will really help you create fun and flawless looks while enjoying the process.
Your Safety, Our Utmost Priority
When exploring creative ways to apply nail wraps, it’s important to put safety first. While many unexpected tools can enhance your nail wrap experience, keeping your hands, nails, and overall health in mind ensures that the process is enjoyable and free from any accidents! Here are some key safety considerations we should keep in mind:
Be Careful, It’s Sharp!
If you’re working with sharp objects like cuticle scissors, tweezers, or toothpicks, handle them carefully to avoid injury. Always remember to enjoy the process while working slowly to avoid applying too much pressure when trimming wraps or pushing back cuticles.
Extra tip: Over-pushing or cutting cuticles can damage the sensitive skin around your nails. Stick to gentle pressure to avoid trimming them too deeply.
Cool It Off!
When using heat tools like hair dryers or heat guns, be cautious about the temperature. Too much heat can not only damage your wraps but also cause injury to your skin. Remember to keep these tools at a safe distance from your hands and nails, and avoid applying heat for too long.
Extra tip: When applying heat, try to focus only on your nail wraps and not on the surrounding skin. Use a tool like a cuticle stick to hold down the wrap while applying heat to avoid direct contact with hot surfaces. You can also wear gloves to protect your lovely hands from getting burned!
Clean Workplace and Tools
Canva Stock Image
Another thing to consider when working with your nails is to have a clean workplace and use properly sanitized tools. These are important for a smooth, safe, and irritation-free nail wrap application. A clean environment ensures that your wraps adhere better, prevent contamination, and gives you the best experience possible!
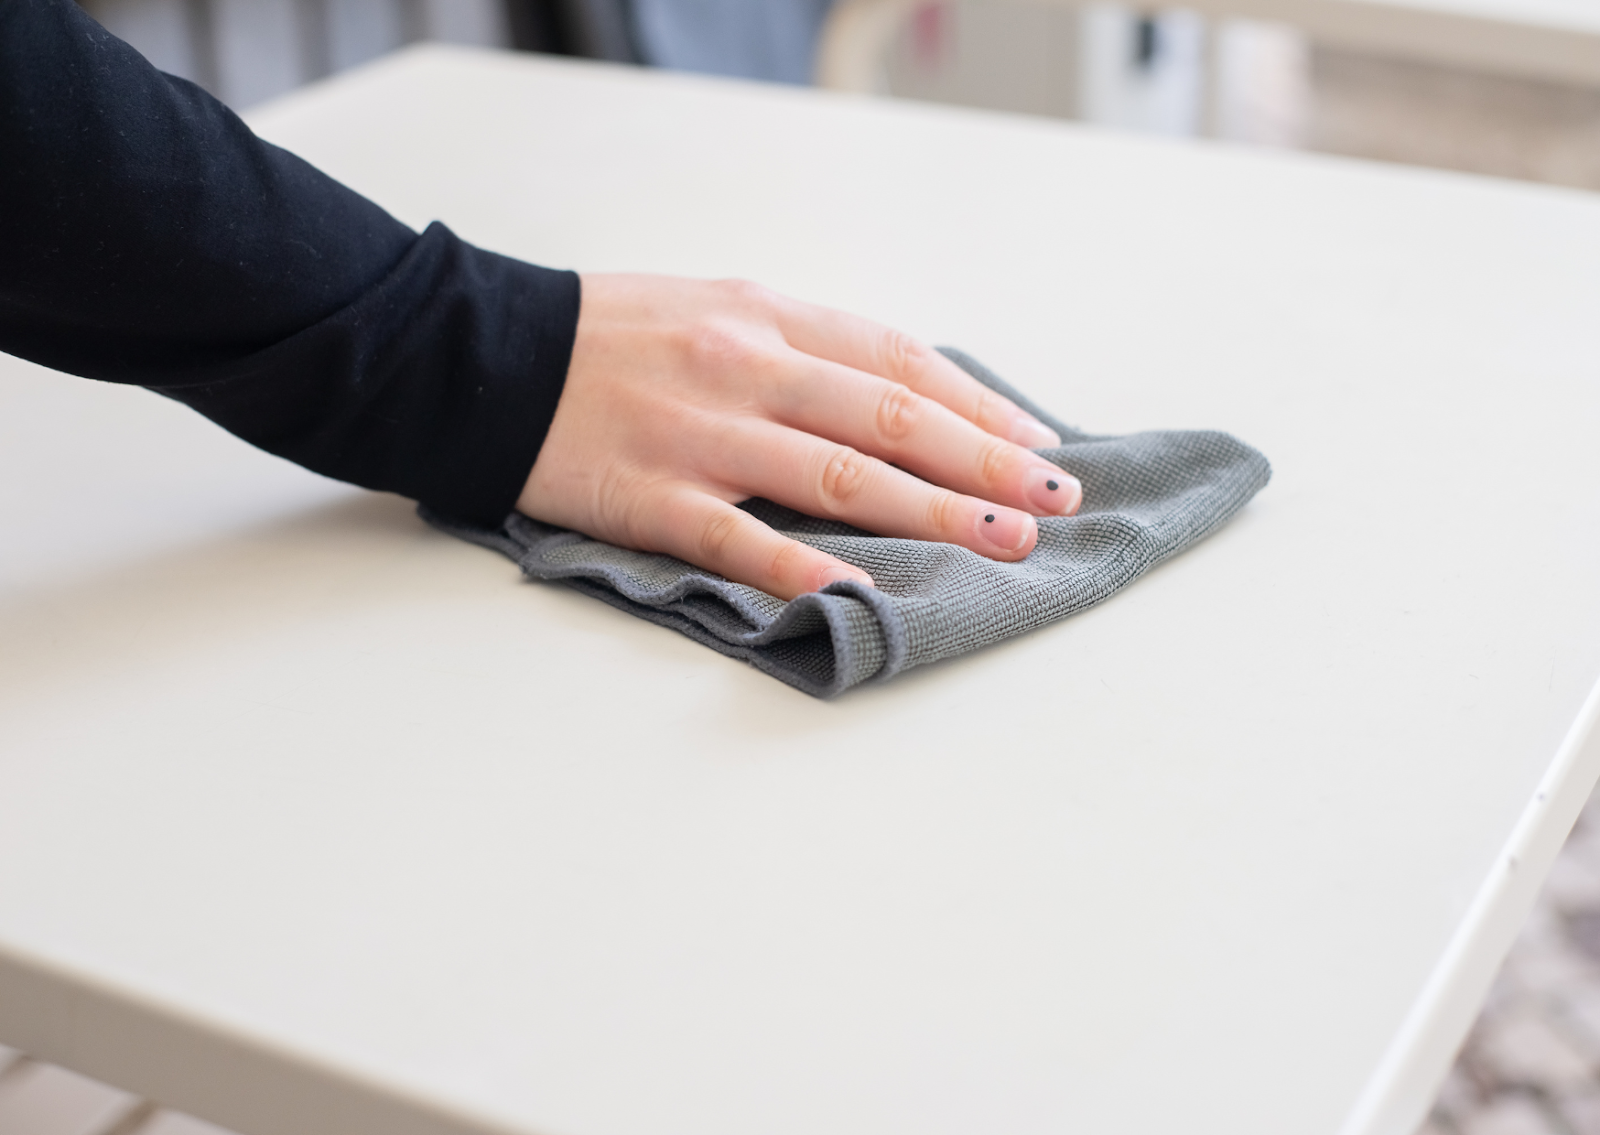
Prepare a Designated Workplace
Prep your nail wrap workplace by wiping down its surface. This helps prevent dirt, dust, or particles from getting into your nail wraps or tools.
You may also use a towel or a silicone mat on your work surface. This helps keep your space tidy and also provides a non-slip surface for your tools, making it easier to handle sharp objects like tweezers or toothpicks.
Lastly, ensure that you have bright lightning so you can what you’re doing clearly. Proper lighting will help you catch any small particles that may interfere with your application.
Deep Clean It, Baby!
Tools like tweezers, cuticle pushers, scissors, and sticks should be cleaned before and after each use. We don’t want those bacteria bugging around our nails, right? 😉 You may wipe them down with rubbing alcohol or a tool disinfectant spray.
For metal tools, you may soak them in rubbing alcohol or hydrogen peroxide for a few minutes to ensure they are thoroughly disinfected. On the other hand, if you’re using disposable items like wooden sticks or nail files, discard them after each use. However, if you prefer not to throw them away immediately, store them in a clean, dry space until the next use and make sure they don’t come in contact with anything dirty.
Lastly, if you are using towels or silicone mats in your workplace, make sure they are also cleaned regularly. Towels should be put in the laundry after each use, and silicone mats can be wiped with alcohol or washed in warm, soapy water.
Organization Is The Key!
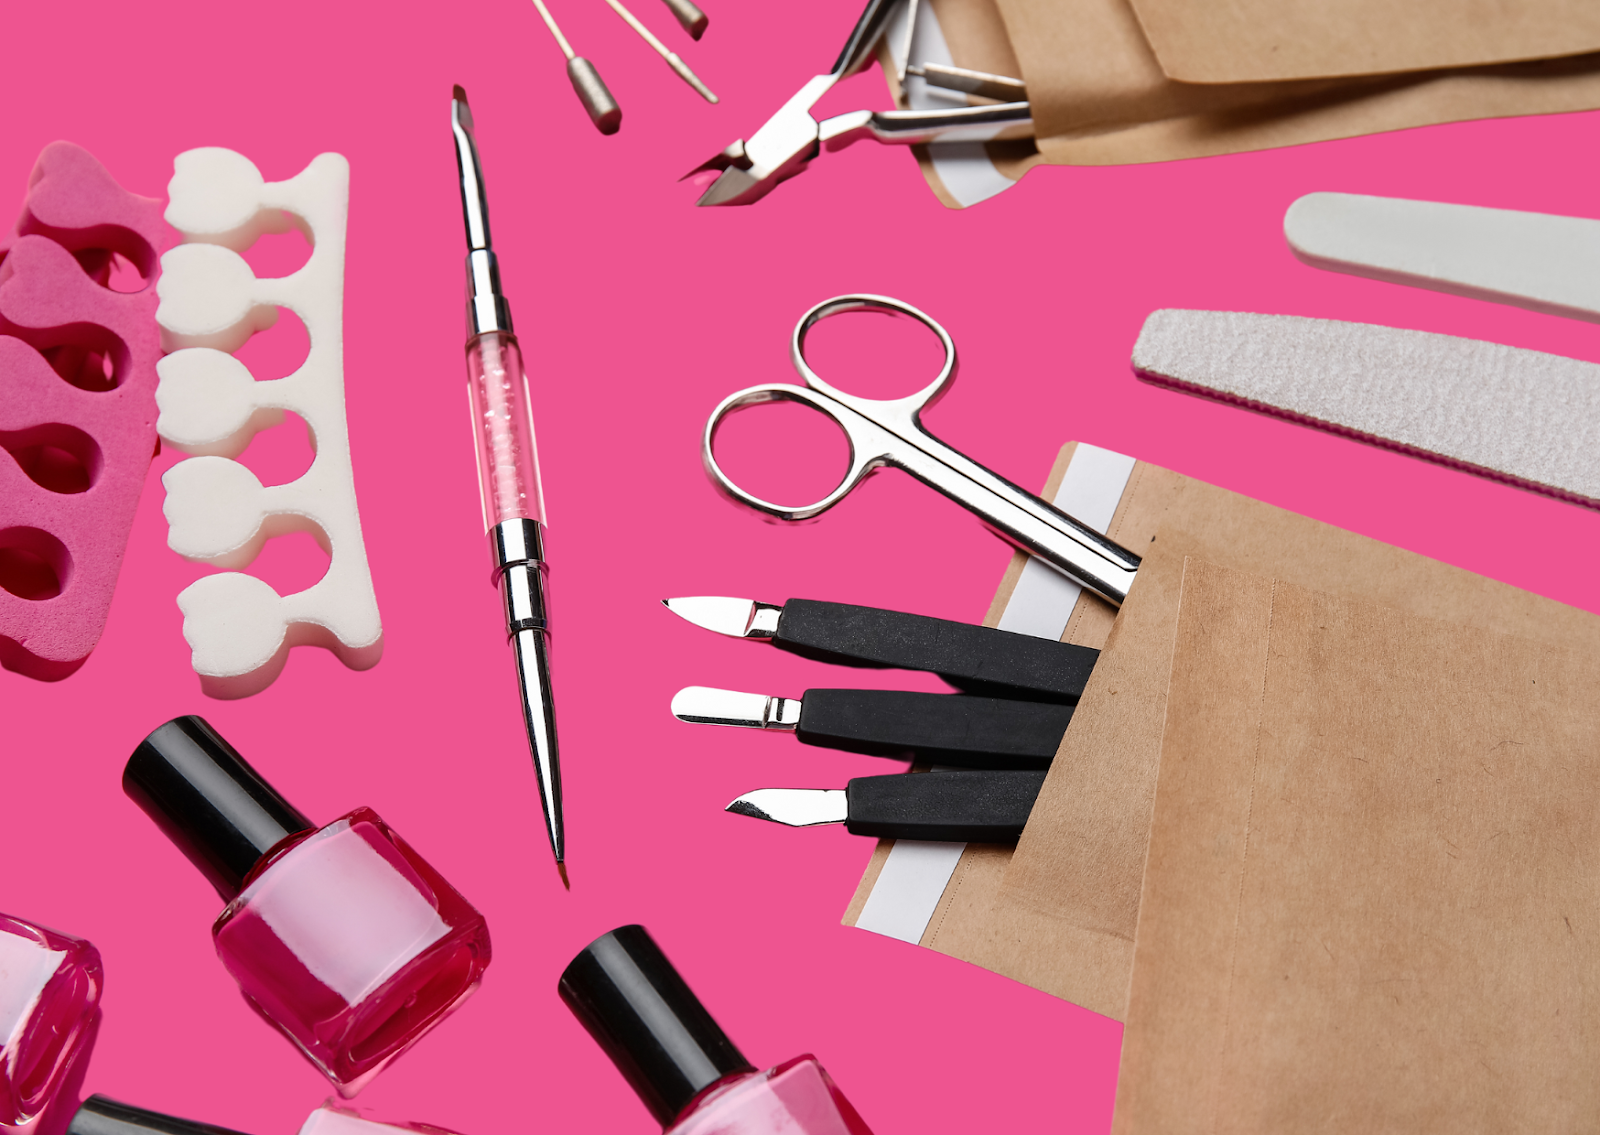
Canva Stock Image
Store your nail tools in a clean, dry container or pouch when not in use. Avoid leaving tools out in open areas where they could be exposed to dirt or moisture. Adding labels and separating your tools will be helpful, too! If you’re using different tools for different application steps, keeping them separately in containers will help prevent cross-contamination and keep everything organized.
Practice Makes Perfect!
When it comes to applying nail wraps, the saying "practice makes perfect" couldn’t be more true. Although nail wraps can provide a quick and easy way to achieve a beautiful manicure, mastering the application process takes time and patience. With consistent practice, you’ll find that each attempt becomes smoother and your results improve dramatically. Here are some key reasons and tips to remember as you practice:
Develop Precision and Control
Using creative tools may feel unfamiliar at first, so don’t be discouraged if your first attempt isn’t flawless. The more you practice with tools like tweezers, stencils, or silicone mats, the better you’ll become at positioning and creating unique designs.
Know When The Time Is Right
One of the challenging parts of nail wrap application is getting the timing right—when to apply heat, how long to press the wraps, or how long to wait before filing off the excess. Experimenting with different unexpected tools, such as a hair dryer or body heat, to see which one works best for you makes the whole experience more fun and enjoyable!
Gaining Confidence
Practice teaches patience, and the more you practice, the more confidence you’ll feel in your nail wrap application! At first, it’s normal to feel unsure about how to manage the different unexpected tools, but as you practice, your confidence will grow. This confidence will make you feel more comfortable and will lead to quicker applications and more creative experimentation!
Have Fun and Be Creative
Nail wraps is a great way to express your creativity, experiment with new designs, and indulge in well-deserved self-care, so it’s important to focus on the joy that comes with the process.
While we love seeing the end result of our beautiful nails, the journey of applying nail wraps should be as fulfilling as it can be! By using creative, unexpected tools and experimenting with different techniques, you can definitely turn your nail wrap application into a fun nailventure.
The Perfect Wrap-Up: Mastering Nail Wraps with the Right Tools
To recap, we’ve explored some unexpected yet game-changing tools that can elevate your nail wrap application to the next level. Whether it’s a silicone nail stamper for precision placement, a glass file for smooth edges, tweezers for flawless peel-and-stick control, or even a cuticle pusher to perfect that seamless look—each tool offers unique benefits. These little gems may not be on everyone’s radar, but once you try them, you’ll wonder how you ever applied nail wraps without them!
Having the right tools can make all the difference between a quick, smooth application and a frustrating experience. Think of it like cooking—using the proper utensils not only makes the process easier but also gives you better results. The same goes for nail wraps: when you’re equipped with the right tools, your manicure becomes a fun, stress-free activity. Plus, it extends the life of your wraps, ensuring they look flawless for longer!
We encourage you to give these tools a try! Play around with what works best for you, and don't be afraid to experiment. If you discover a new hack or have a favorite tool that changed the game for your manicure, share it with us and the community. Hearing each other’s tips and experiences only makes the process more fun, and who knows—you might inspire someone else to up their nail game!
At the end of the day, applying nail wraps isn’t just about aesthetics; it’s a moment of self-care and creativity. It’s a chance to pause, focus on yourself, and feel good. Whether you’re treating yourself to a solo pampering session or hosting a wrap party with friends, nail wraps let you express your personality while taking care of yourself. And with these helpful tools by your side, every application can be smooth, easy, and enjoyable.
So go ahead, explore these tools, and dive into your next manicure with confidence. Your nails deserve a little love—and so do you!

Also in Blog

Bridesmaid Nails Made Easy with Lily & Fox
There’s something about a June wedding that feels effortless in the best way. The weather cooperates, the light lingers a little longer, and everything seems to glow just right. Gardens are in full bloom. Outdoor ceremonies feel natural instead of risky. Even the smallest details—like the way a bouquet looks against a soft sunset—feel elevated without trying too hard.

Solid Color Nail Wraps: The Ultimate Guide to Effortless Style and Everyday Elegance
At Lily & Fox, solid color nail wraps continue to be customer favorites for a reason. They are incredibly versatile, easy to style, and reliable for everyday wear. Solid wraps can stand beautifully on their own or serve as the foundation for more creative nail designs. They are perfect for beginners who want a simple, flawless manicure and equally loved by experienced nail enthusiasts who enjoy experimenting with combinations and finishes.

What's Your Nail Health Score?
Be honest — when was the last time you really thought about your nail health?
If your answer is somewhere between “uh…” and “only when one breaks five minutes before an event,” you’re definitely not alone.
The good news? You don’t need a microscope or a salon visit to get a quick read on how your nails are doing.
That’s where this quiz comes in.
In just a couple of minutes, you’ll:
- Discover your Nail Health Score
- Learn what your score actually means
- Get personalized tips to help your nails grow stronger
- Pick up easy habits that make a big difference


Rebecca Fox
Author