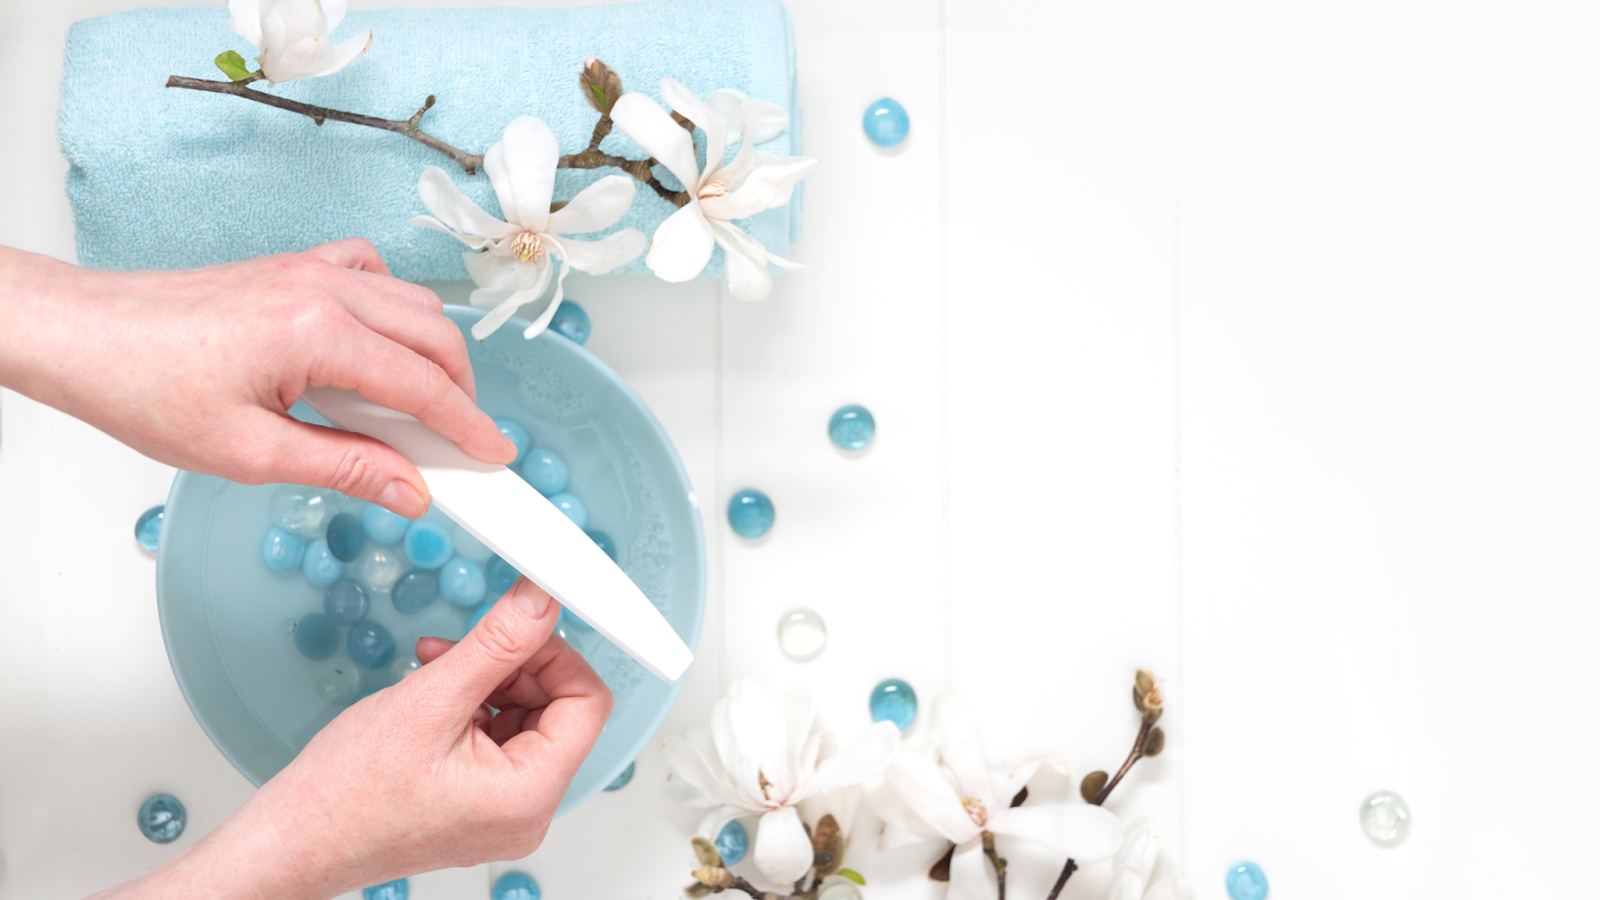
Fixing Nail Wraps with Heat: Reviving Wrinkled or Misaligned Designs
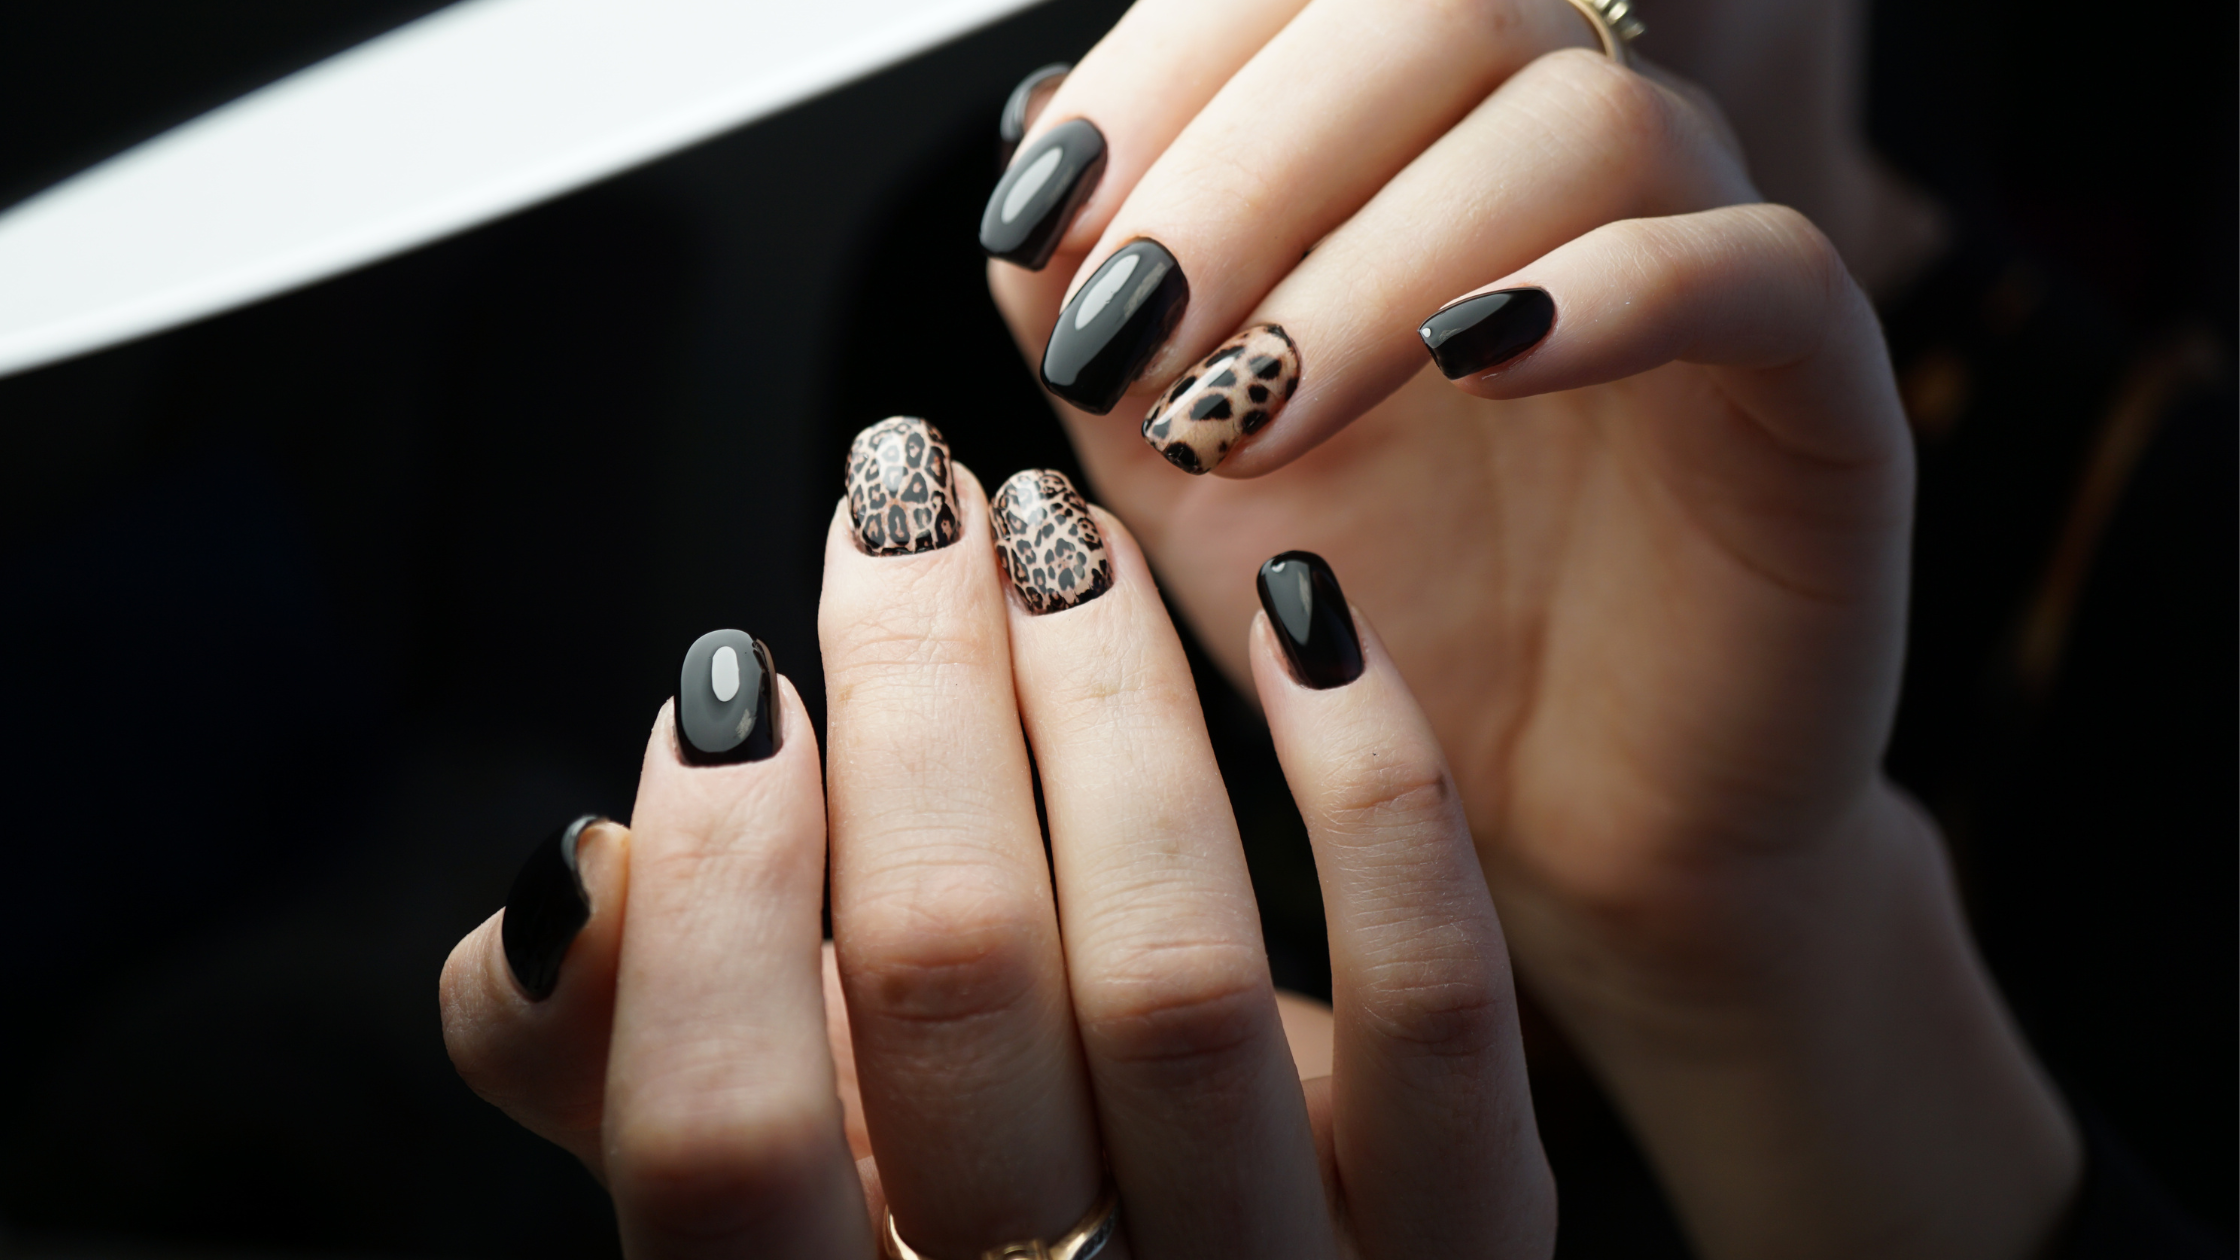
Canva Stock Image
Hey there, nail enthusiasts! We all love the ease of nail wraps, but sometimes they can end up looking a little less than perfect—think wrinkles or misaligned edges. Don’t stress! There’s a super simple fix that can help you get your wraps looking fresh again: heat! In this post, we’ll share some easy tips on how to use heat to smooth out those pesky imperfections and make your nails shine. Whether you’re just starting out or you’ve been rocking nail wraps for a while, you’ll find some handy tricks here.
If you’ve ever applied nail wraps, you know the struggle: one minute you’re feeling like a manicure master, and the next, you’re staring at wrinkled or misaligned designs that just don’t cut it. These common issues can really throw off the overall look of your nails, making them appear less polished and even a bit messy. But don’t worry—we’ve got your back!
In this post, we’ll chat about the most common problems with nail wraps, like those annoying wrinkles and misalignments, and how they can impact your mani. Plus, we’ll share some super easy heat-based solutions to help you revive those wraps and get your nails looking fabulous again. Let’s turn those nail woes into nail wins!
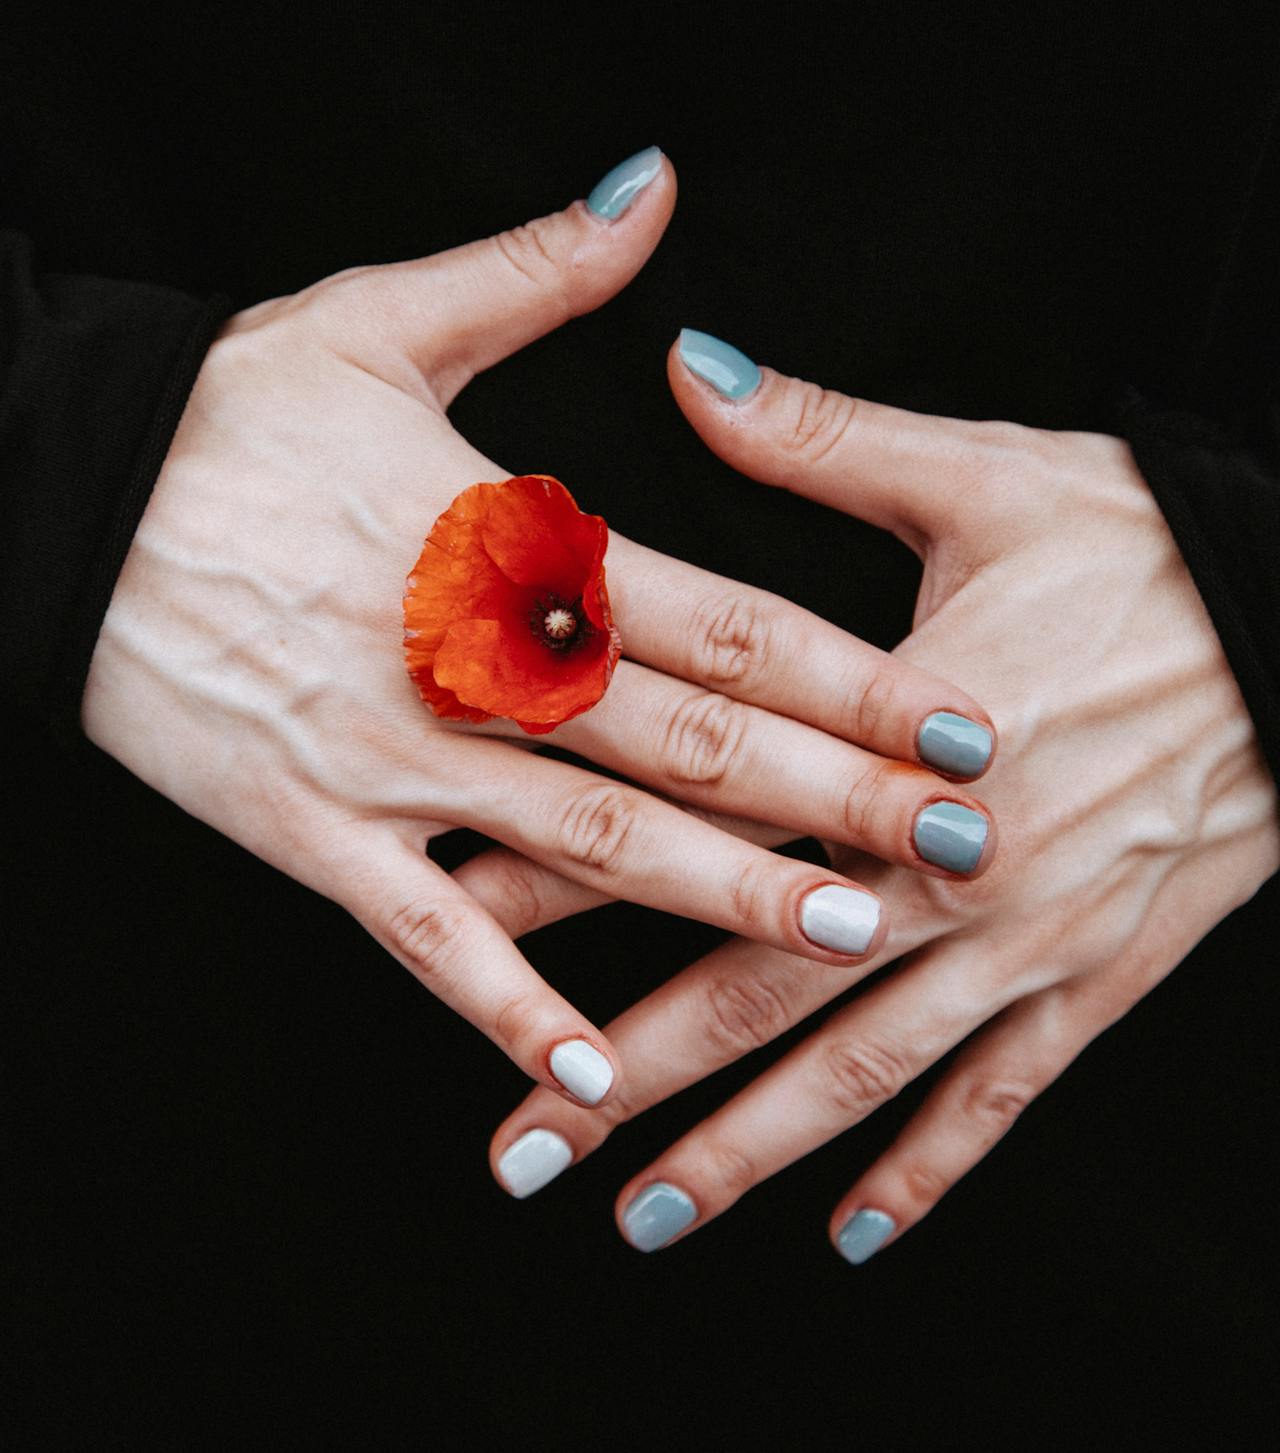
Photo by Kristina Nor
Why Fixing These Issues Matters for a Polished Look
Wrinkles and misalignment might seem minor, but they can seriously impact the overall polished look you’re aiming for. Here’s why fixing these issues matter:
First Impressions Matter: Neat, well-applied wraps give off a vibe of professionalism and care. If your nails look messy, it can detract from your overall style.
Boosts Confidence: There’s something empowering about having a flawless manicure. When your wraps are smooth and aligned, you’ll feel more put-together and ready to take on the world.
Longevity: Properly applied wraps not only look better but also tend to last longer. Fixing those wrinkles and misalignments means your nails will stay stunning for days on end.
Showcases Your Style: Nail wraps are all about expressing your personality. If they’re bumpy or crooked, it can hide the beautiful designs you chose. Fixing them allows your unique style to shine through.
By taking the time to fix these common issues, you’ll ensure your nails look their absolute best—because who doesn’t want to flaunt a flawless finish? Let’s get into how to use heat to tackle these pesky problems!
First, Understanding Nail Wraps

What are Lily & Fox Nail Wraps?
Lily & Fox nail wraps are stylish, adhesive strips made of real nail polish designed to give you a salon-quality manicure from the comfort of your home. Made from high-quality materials, our wraps come in a wide variety of fun designs and colors, allowing you to express your unique style without the hassle of traditional nail polish.
Difference from Other Nail Products
Unlike regular nail polish, which can chip and requires drying time, nail wraps are quick and easy to apply. They provide a durable finish that usually won’t smudge or fade, making them a perfect option for those who want long-lasting results without the fuss. Additionally, unlike gel nails that require a UV lamp for every application and tedious removal process, nail wraps are simply peeled off with the help of nail polish remover or coconut oil when you're ready for a change.
Photo by Anna Shvets
Benefits of Using Nail Wraps
Choosing nail wraps over other products comes with several advantages:
-
Speed: Application is quick—just peel, stick, and smooth for an instant manicure.
-
Variety: With countless designs and patterns, you can switch up your look as often as you like.
-
Durability: Nail wraps are resistant to chipping and fading, keeping your nails looking fresh for longer.
-
No Drying Time: Say goodbye to waiting for polish to dry! Nail wraps are ready to go as soon as you apply them.
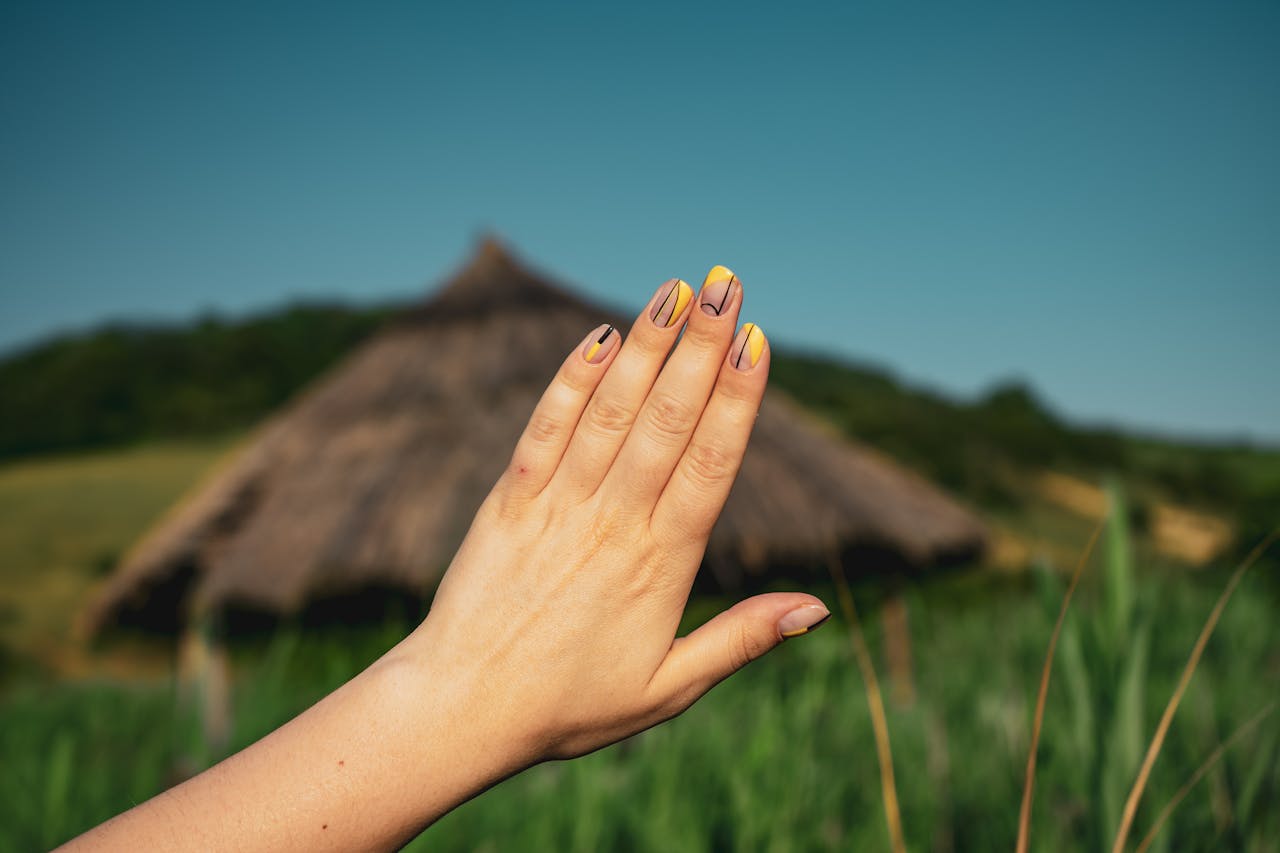
Photo by Vlad Chețan
Why Do Wraps Get Wrinkled or Misaligned?
Despite their many benefits, nail wraps can sometimes end up wrinkled or misaligned. This can happen for several reasons:
-
Application Technique: If the wraps aren’t applied smoothly or are stretched too much, wrinkles can form.
-
Environmental Factors: Conditions like humidity and temperature can affect the adhesive properties of the wraps, making them more prone to issues.
Application Process
To achieve a flawless finish, it’s important to follow a proper application process:
-
Prep Your Nails: Clean and shape your nails, pushing back cuticles as needed.
-
Choose the Right Size: Select wraps that fit your nails perfectly.
-
Apply with Care: Peel the wrap, place it on your nail, and smooth it out from the center to the edges to avoid wrinkles.
Environmental Factors
Environmental factors can really affect how well your nail wraps stick. For example, high humidity can make the adhesive less effective, while extreme temperatures can cause the wraps to expand or contract, which can lead to misalignment. And don’t forget about storage! Keeping your wraps in a cool, dry place helps keep them in top shape until you’re ready to use them.
By getting a handle on these details about Lily & Fox nail wraps, you’ll be all set to rock a polished look every time! Now, let’s dive into some common issues and how to fix them!
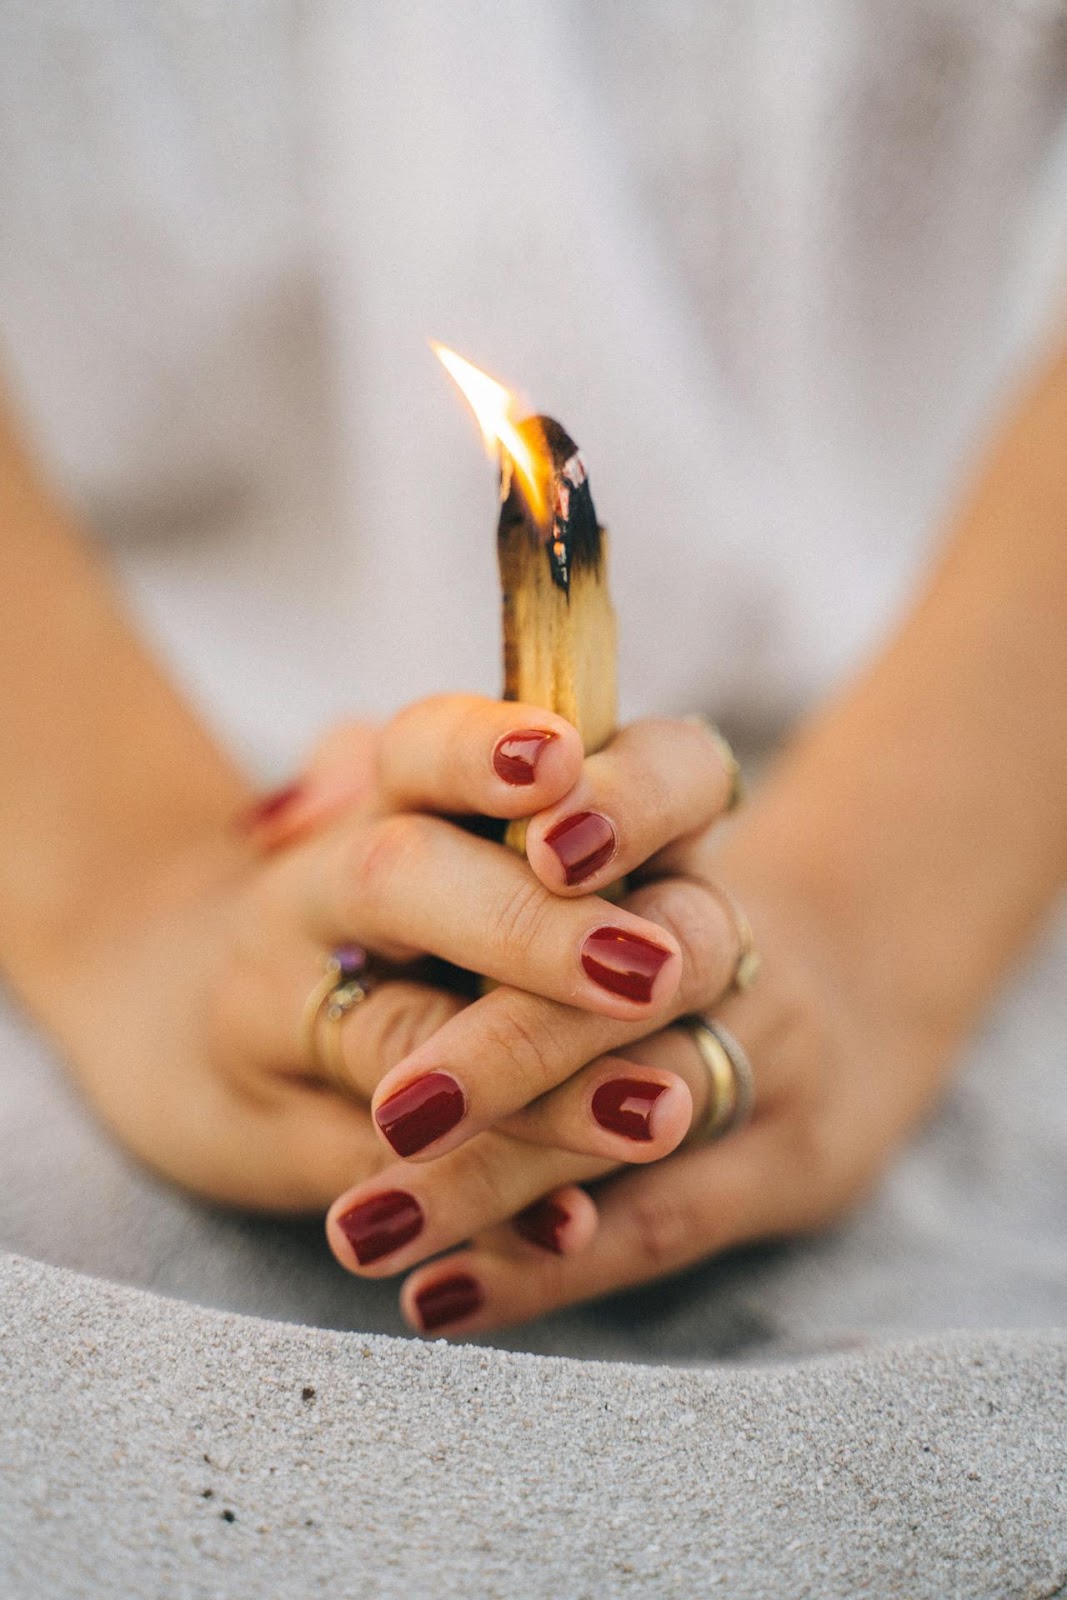
Photo by Anna Tarazevich
The Science of Heat and Nail Wraps
Alright, let’s talk about the magic of heat when it comes to nail wraps! You might be surprised to learn just how much a little warmth can help you achieve that perfect manicure. Here’s the scoop on how heat affects your wraps and how you can use it to your advantage.
How Heat Affects Nail Wraps
Heat works wonders on nail wraps. When you apply a bit of warmth, it softens the material, allowing it to better adhere to your nails. This means fewer wrinkles and a smoother finish! Plus, if your wraps are looking a bit misaligned, heat can help reshape them, making it easier to get everything back on track.
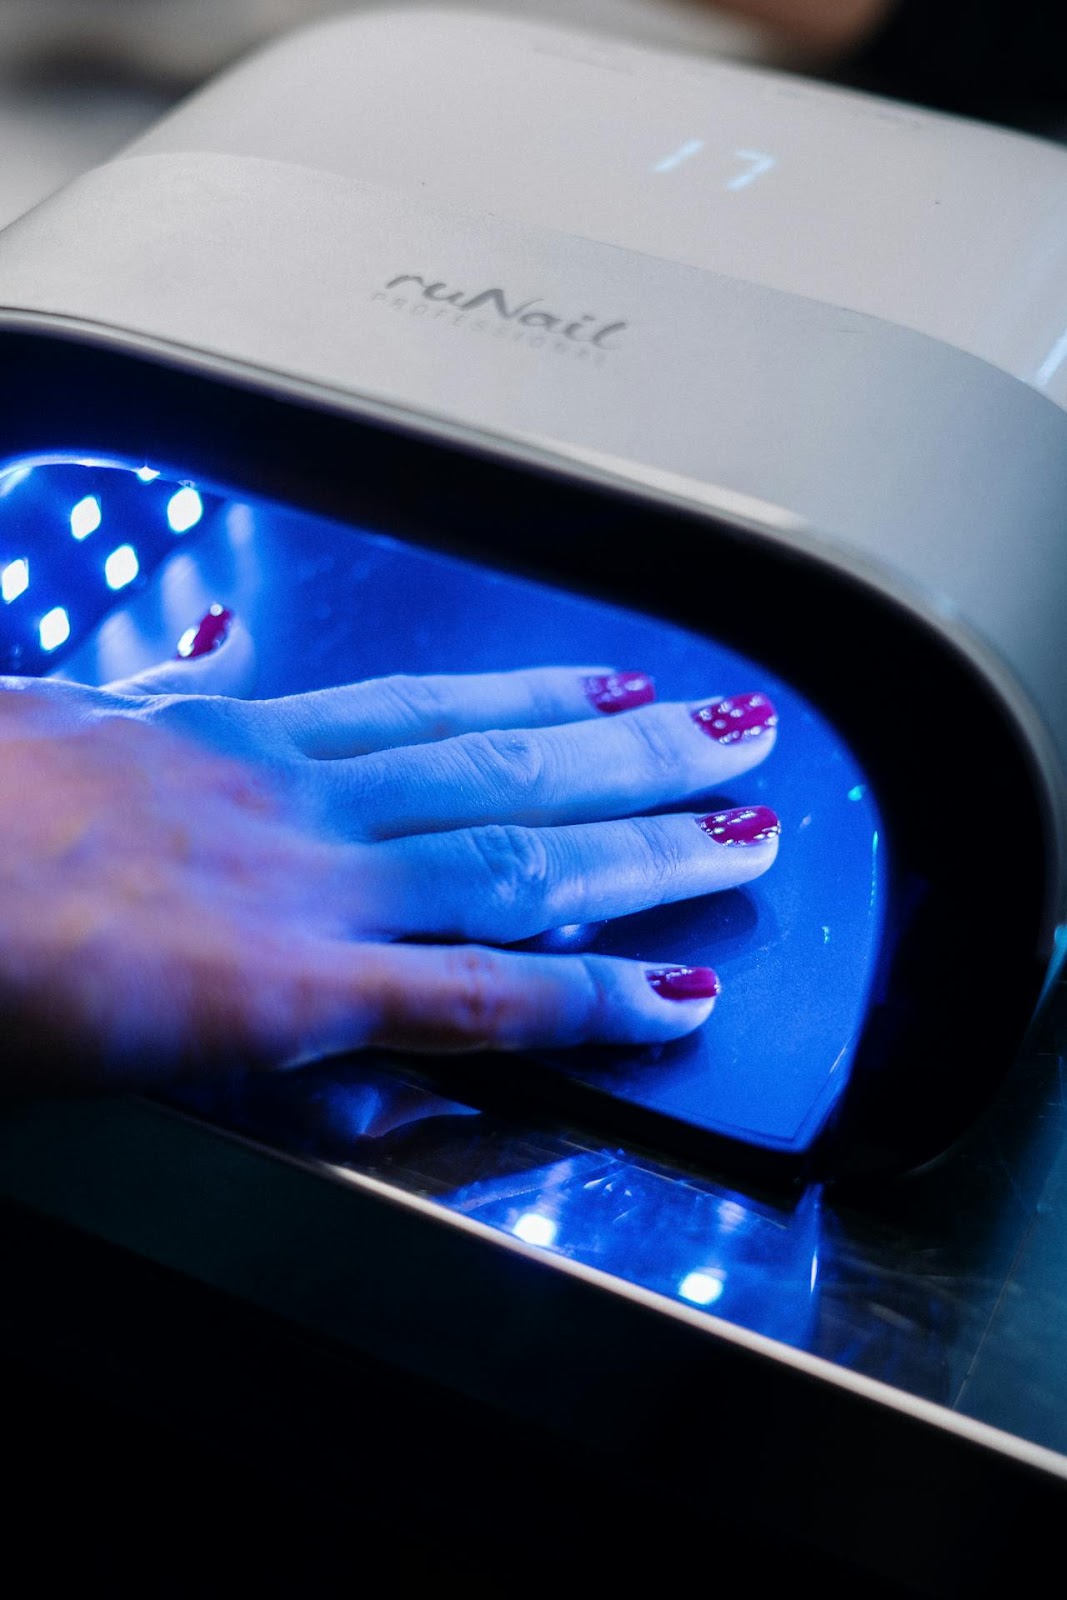
Photo by cottonbro studio
Recommended Heat Sources
So, what are the best ways to apply heat? Here are a few options that work like a charm:
-
Hair Dryer: A trusty hair dryer is a go-to for quick heat. Just hold it about 6 inches away from your nails and give them a blast for a few seconds. This is perfect for softening up the wraps and helping them stick better.
-
Heat Lamp: If you have a heat lamp handy, it can be a great tool, too! Just make sure to keep your nails at a safe distance so you don’t overheat them. A little warmth goes a long way!
-
UV Lamp: If you’re already using a UV lamp for gel nails, you can also use it for your wraps. Just a quick exposure can help them adhere better, but again, be cautious not to leave them under too long.
Using heat wisely can make a huge difference in how your nail wraps look and last. So, next time you notice some wrinkles or misalignments, don’t hesitate to bring out the heat! With these tips, you’ll be on your way to achieving a flawless finish in no time. Let’s keep going and tackle some more tips for perfecting your nail wraps!
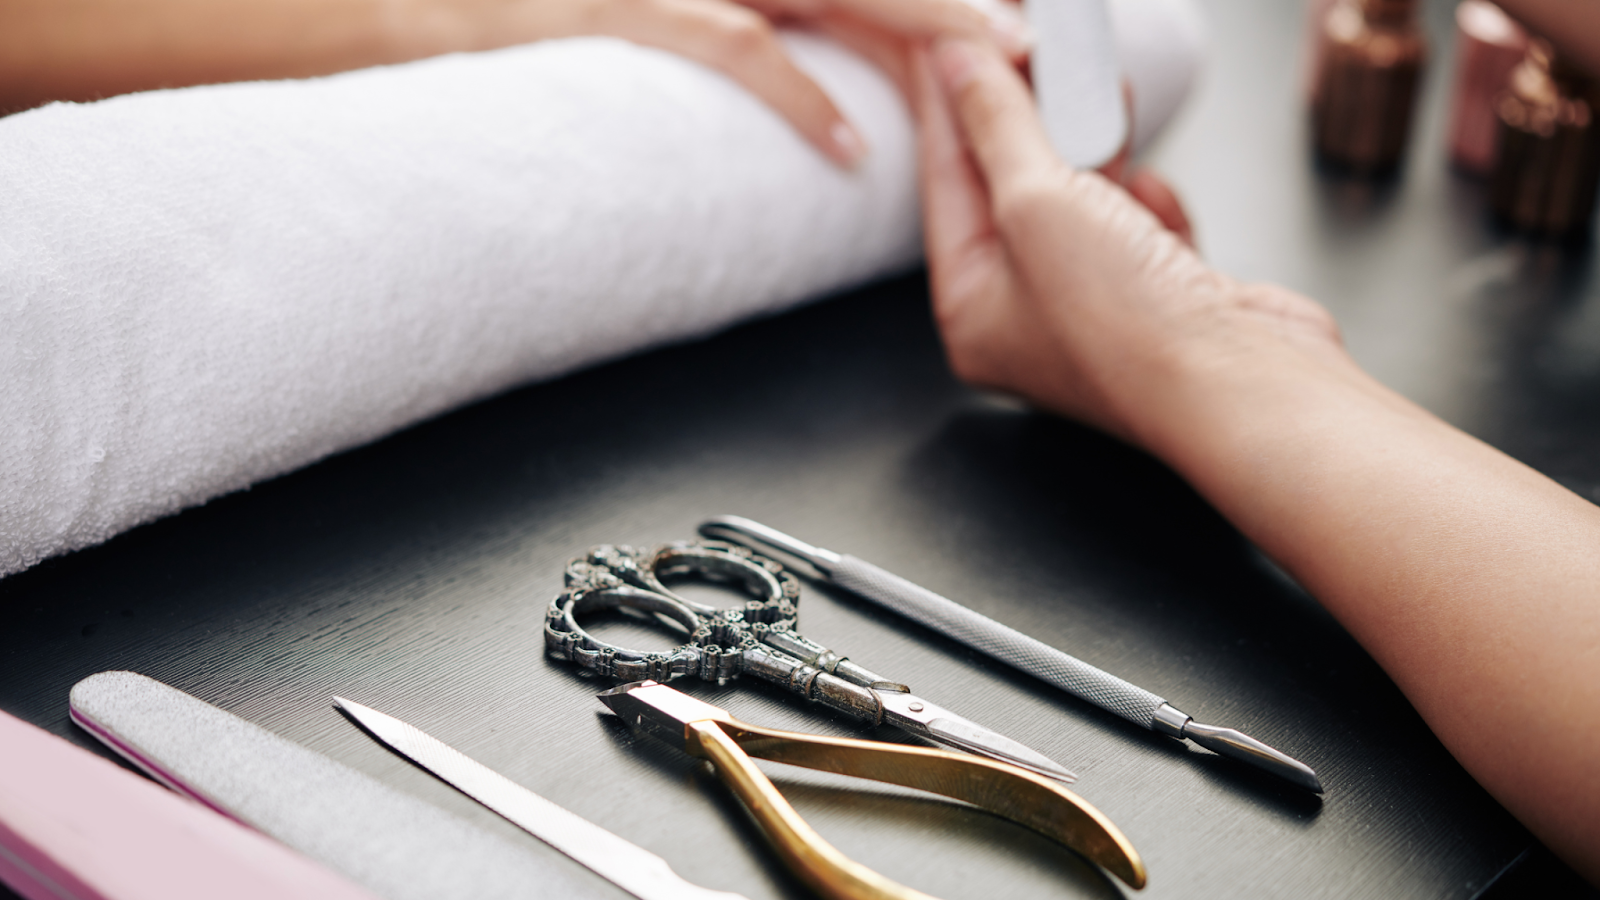
Step-by-Step Guide to Fixing Nail Wraps with Heat
Ready to revive those nail wraps? Let’s dive into a simple step-by-step guide for fixing wrinkles and misalignments using heat. Grab your supplies, and let’s get to work!
Preparation
First things first, you’ll need to gather a few materials:
-
Heat Source: A hair dryer or heat lamp will do the trick.
-
Cuticle Stick: This will help you smooth out the wraps.
-
Nail File: Just in case you need to touch up your nail edges.
-
Nail Cleanser: To ensure your nails are nice and clean.
Make sure your nails are clean and prepped before you start. Remove any old polish or residue, and give your nails a little TLC.
Step 1: Assess the Damage
Take a good look at your wraps. Identify any wrinkles or areas that are misaligned. This will help you know where to focus your efforts when applying heat.
Step 2: Applying Heat
Now it’s time to bring the heat! Here’s how to do it:
-
Using a Hair Dryer: Hold it about 6 inches away from your nails and turn it on a low setting. Aim for about 5-10 seconds, just enough to warm up the wraps without overheating them.
-
Using a Heat Lamp: If you have one, position your nails a safe distance from the lamp. A quick exposure of about 10-15 seconds should be enough.
Tip: Always keep the heat source moving to avoid hot spots. You want a nice, even warmth.
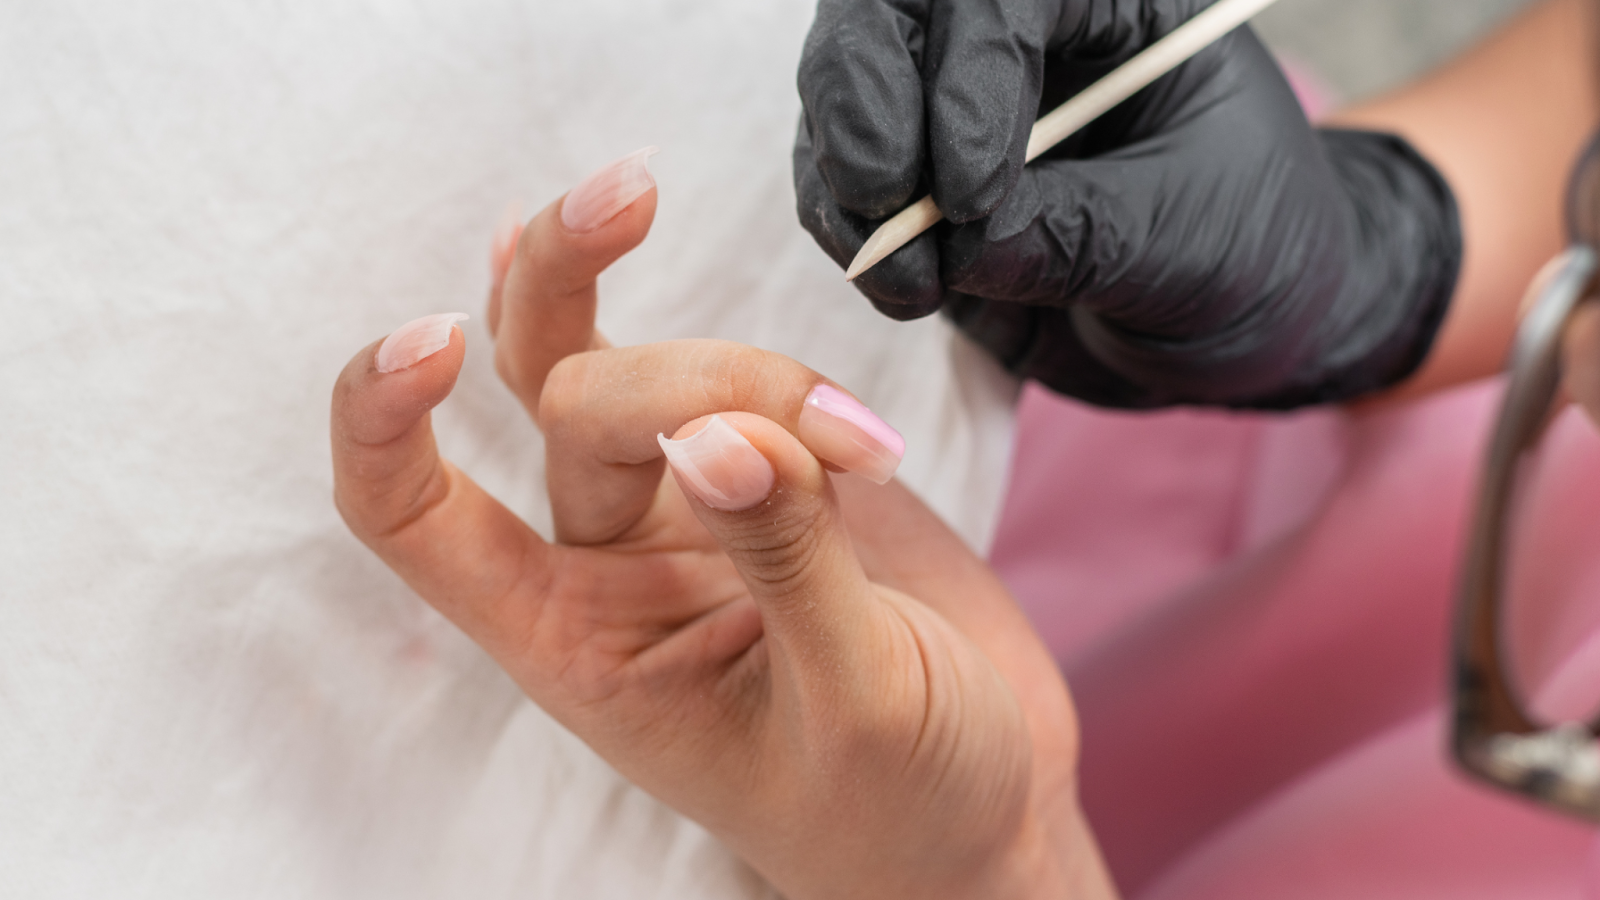
Step 3: Correcting Wrinkles and Alignment
Once your wraps are warm, it’s time to smooth things out! Grab your cuticle stick and gently press down on any wrinkles. Start from the center and work your way out toward the edges.
For any misaligned designs, carefully peel back the wrap (if it’s still warm), then reposition it so it lines up perfectly with your nail edges. The warmth makes this much easier!
Step 4: Cooling Down
After you’ve smoothed everything out, let your wraps cool and set properly. This will help them adhere better and hold that flawless look. Give it a few minutes before you go about your day!
And there you have it! With these steps, you’ll be able to fix those pesky nail wrap issues and keep your nails looking fabulous. Now, go show off that perfect manicure!
Canva Stock Image
Troubleshooting
If you want to fix wrinkly nail wraps without using heat, try these alternative methods:
1. Press and Smooth Immediately: Right after applying the wrap, use a cuticle pusher or your fingers to press firmly on the nail surface. Start from the center and work your way toward the edges, smoothing out wrinkles as you go. The key is to act quickly while the adhesive is still fresh.
2. Use a Plastic Cuticle Pusher: A plastic cuticle pusher works well for smoothing out wrinkles without causing damage to the wrap. Gently push from the center of the nail outwards to flatten the wrap against your nail, focusing on the wrinkled areas.
3. Try a Rubber Eraser: A rubber pencil eraser can be a gentle tool for smoothing out small wrinkles. Lightly rub the eraser over the wrinkles in a circular motion to flatten them out.
4. Stretch the Wrap Slightly: Gently stretch the nail wrap before applying it to the nail. This can help prevent wrinkles from forming in the first place, as the wrap will naturally adhere more smoothly.
5. Apply Top Coat: If the wrap is still slightly wrinkled after applying, adding a clear top coat can help secure the wrap in place and reduce the appearance of any remaining creases.
These techniques can help smooth out wrinkles without using heat, keeping your nail wraps looking sleek!
And there you have it, nail wrap warriors! With just a little heat and the right technique, those pesky imperfections are no match for you. By smoothing out wrinkles and realigning edges, you’re well on your way to perfecting your nail game. Now, your nails can shine as brightly as your confidence, and you’ll be rocking a flawless look in no time.
Remember, practice makes perfect. The more you work with nail wraps, the better you’ll get at applying them smoothly and evenly. Don’t get discouraged if it takes a few tries to get it just right—it’s all part of the fun! Before you know it, you’ll be a pro, and applying nail wraps will feel like second nature.
Thanks for hanging out and learning these quick fixes! If you’ve got any questions or tips of your own, feel free to drop them in the comments. We’d love to hear from you. Happy wrapping, and may your manis always be on point!

Also in Blog

Bridesmaid Nails Made Easy with Lily & Fox
There’s something about a June wedding that feels effortless in the best way. The weather cooperates, the light lingers a little longer, and everything seems to glow just right. Gardens are in full bloom. Outdoor ceremonies feel natural instead of risky. Even the smallest details—like the way a bouquet looks against a soft sunset—feel elevated without trying too hard.

Solid Color Nail Wraps: The Ultimate Guide to Effortless Style and Everyday Elegance
At Lily & Fox, solid color nail wraps continue to be customer favorites for a reason. They are incredibly versatile, easy to style, and reliable for everyday wear. Solid wraps can stand beautifully on their own or serve as the foundation for more creative nail designs. They are perfect for beginners who want a simple, flawless manicure and equally loved by experienced nail enthusiasts who enjoy experimenting with combinations and finishes.

What's Your Nail Health Score?
Be honest — when was the last time you really thought about your nail health?
If your answer is somewhere between “uh…” and “only when one breaks five minutes before an event,” you’re definitely not alone.
The good news? You don’t need a microscope or a salon visit to get a quick read on how your nails are doing.
That’s where this quiz comes in.
In just a couple of minutes, you’ll:
- Discover your Nail Health Score
- Learn what your score actually means
- Get personalized tips to help your nails grow stronger
- Pick up easy habits that make a big difference


Rebecca Fox
Author