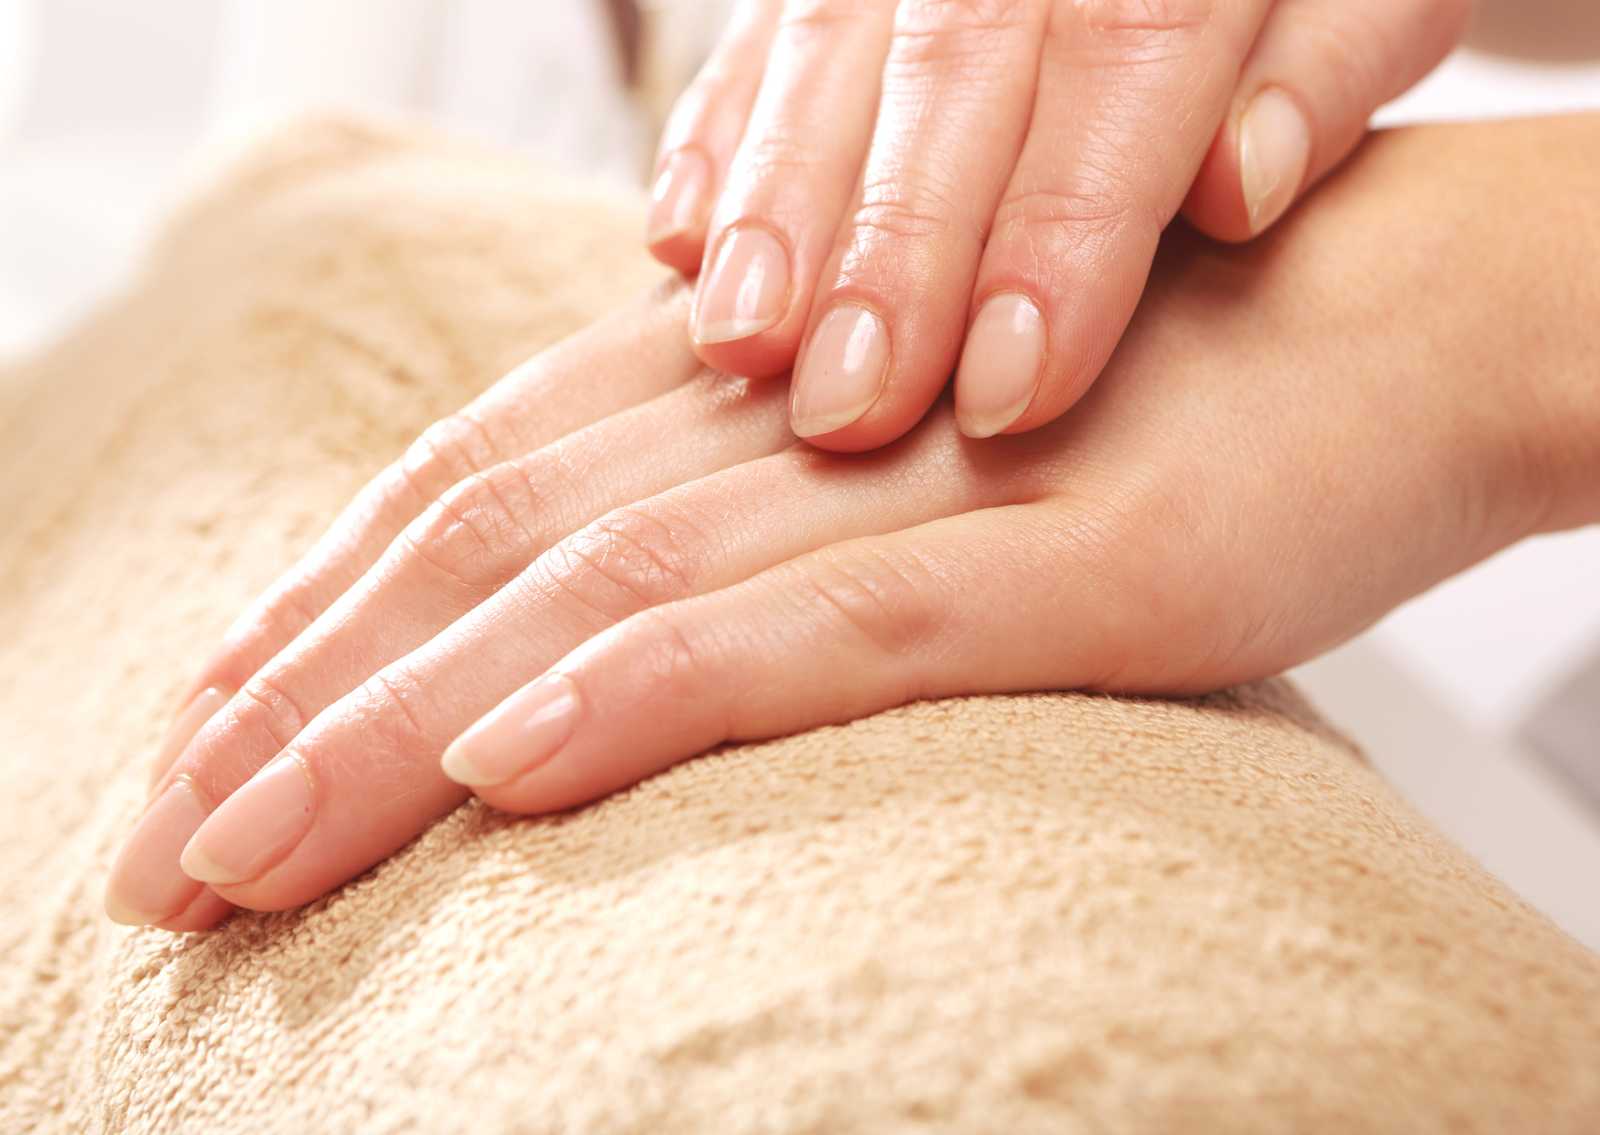
Different Nail Chemistries

Have you ever wondered why your nail wraps seem to last longer on some days than others? The answer might lie in your unique nail chemistry. Just like our skin, our nails have their own distinct characteristics that can affect how they interact with various products, including nail wraps!
Nail chemistry refers to the composition and properties of our nails, which can vary from person to person. Factors such as the thickness, strength, and moisture level of our nails play an important role in determining how well nail wraps adhere and how long they last.
Understanding your individual nail chemistry is essential for achieving and maintaining beautiful manicures. By knowing whether your nails are dry, oily, or somewhere in between, you can choose the right products and techniques to ensure that your nail wraps adhere properly and look their best for as long as possible.
What Is Nail Chemistry?
Nail chemistry refers to the composition and properties of human nails, which are primarily made of a protein called keratin. This same protein forms the hair, skin, and other tissues in the body. Nails are essentially hardened plates of keratin that grow from the nail matrix, a specialized area of skin at the base of the nail.
The structure of a nail consists of several layers:
Nail plate: This is the visible part of the nail, made up of layers of keratin cells that are tightly packed together. The nail plate is typically divided into three sections: the nail body, the lunula (the white, crescent-shaped area at the base of the nail), and the cuticle (the thin layer of skin that overlaps the base of the nail).
Nail bed: This is the skin beneath the nail plate. It is rich in blood vessels that supply nutrients and oxygen to the nail.
Cuticle: This is the thin layer of skin that overlaps the base of the nail plate. It helps to protect the nail matrix from bacteria and other microorganisms.
Each person’s nail composition is unique and influenced by a variety of factors, including genetics, lifestyle, and health. Some people may have naturally strong, thick nails, while others may have thin, brittle nails. These differences can be attributed to variations in the structure and composition of the nail plate and the underlying nail bed. But don’t worry! No matter what your nail type, you can always discover ways to work with your nail chemistry and achieve beautiful, healthy nails.
Key Factors That Influence Nail Chemistry
Nail chemistry is a fascinating aspect of our beauty routine, influenced by various factors that shape how our nails interact with different products. Let's explore some of these key factors:
Nail Porosity
Understanding porosity: Nail porosity refers to the ability of the nail plate to absorb moisture. Nails with high porosity are more porous and absorb moisture more easily, while nails with low porosity are less porous and absorb moisture less readily.
Just like our skin, nails can have different levels of moisture absorption. While high porosity nails might be a bit more challenging to manicure, they also offer a unique canvas for creative designs.
Natural Oil Levels
The oiliness of your nails can affect product adhesion. Oily nails might need extra attention to ensure products stick, while drier nails might benefit from extra moisture.
Balancing oil production: Understanding your nail's natural oil levels can help you choose the right products and techniques to ensure optimal adhesion and prevent dryness or excessive oiliness.
pH Balance
The importance of pH: The pH balance of your nails can influence their strength, flexibility, and susceptibility to damage. A balanced pH helps maintain healthy nails and better product adhesion.
Factors affecting pH: Your diet, lifestyle, and the products you use can all affect the pH balance of your nails.
Nail Thickness and Strength
The diversity of nails: Nails come in all shapes and sizes, with varying degrees of thickness and strength. Understanding your nail's natural characteristics helps you choose the right products and techniques for a perfect manicure.
Tailoring your routine: Thicker nails may require different products and techniques than thinner or more brittle nails.
Different Nail Types and What They Mean for Manicures
When it comes to manicures, understanding your nail type is just as important as choosing the perfect nail wraps for you. From dry to oily and ridged, these different nail types require specific care and different products to ensure a healthy and long-lasting manicure. Now, let’s explore the most common nail types and the different unique characteristics that can affect how they react to various products, including nail wraps, top coats, and base coats!
Oily Nails
Oily nails are characterized by a greasy or slick feeling. This is due to the excessive production of natural oils by the nail bed. Oily nails can be challenging to manicure as they may be more prone to lifting and peeling.
Tips for working with oily nails:
-
Use a degreaser or nail cleanser to remove natural oils and dirt from the nail surface before applying any products.
-
Buffing the nails can help to remove the top layer of oil and create a more textured surface for better adhesion.
-
Use a nail primer specifically designed for oily nails to help improve product adhesion.
-
Avoid using oily nail polish removers or cuticle oils that can further contribute to oiliness..
Dry Nails
Dry nails are often brittle, flaky, and prone to breakage. This is due to a lack of moisture in the nail plate.
Tips for dry, brittle nails:
-
Use a cuticle oil or hand cream regularly to hydrate your nails and the surrounding skin.
-
Limit your exposure to harsh chemicals, such as detergents and nail polish removers, which can further dry out your nails.
-
Consider using nail hardeners or strengthening treatments to help strengthen brittle nails.
-
Use a fine-grit nail file to avoid further damage to dry nails.
Flexible Nails
Flexible nails are thin and bend easily. This can make it difficult for products to adhere properly and can lead to tears and breakage.
Tips for flexible nails:
-
Use nail hardeners or strengthening treatments to help improve the durability of flexible nails.
-
Excessive filing can weaken flexible nails.
-
Apply nail products gently to avoid bending or tearing the nails.
-
Limit your exposure to harsh chemicals that can weaken nails.
Ridged Nails
Ridged nails have visible lines or grooves that appear on the nail’s surface. These ridges can run either vertically (from the cuticle to the tip of the nail) or horizontally (across the nail).
These can be caused by age, proper diet, dehydration, or underlying health conditions. However, worry not because here are some tips for ridged nails:
-
Ridge-filling base coats are your best friend! They are specially formulated to fill in the grooves on the nail’s surface which helps create a smoother base for nail wrap application.
-
Use a fine-grit buffer to gently smoothen the ridges. Remember not to over-buff as this can weaken the nail and make it more prone to breakage.
-
Do buffing once or twice a month to avoid thinning of the nail beds.
-
Hydrate and moisturize! Products containing vitamin E, jojoba oil, or shea butter will definitely help your nail beds stay fresh and moisturized.
Flat Nails
Flat nails have little to no natural curvature from side to side. While they are generally harmless, flat nails can affect the longevity and appearance of your nail wraps, as the lack of natural curvature can make them prone to breakage and lifting.
Tips for flat nails:
-
Light buff to add shape and curvature to your nails.
-
Choose a rounded or oval shape rather than a square or flat edge when shaping flat nails.
-
File the sides of the nails just slightly inward to create a subtle curve. This gives the illusion of a naturally curved nail.
-
Keep your nails at moderate length to prevent them from bending and breaking.
How Nail Health Affects Manicure
Nail health is very important to achieving a great manicure, as it influences both the appearance and durability of your nail wraps. When your nails are strong, smooth, and well-pampered, your nail wraps will adhere better and last longer, helping you achieve a flawless and long-lasting finish.
Giving your nails a well-deserved TLC is essential to achieving healthy and strong nails that can support a beautiful manicure. By giving importance to nail care and understanding your nail type, you can ensure your manicures look great while promoting the long-term health of your nails. Here are some of the factors that we should always consider when caring for your nails:
Healthy Food, Healthy Nails
Did you know that the appearance of your nails is often seen as an indicator of your overall wellness? Nutrition plays a significant role in maintaining healthy nails, which has a great impact on the quality of a manicure. It’s important to have a balanced diet to maintain strong, smooth, and resilient nails. Not only that, it also prevents common issues like brittleness, peeling, and breakage. Here are some of the things we need to consider when having a healthy diet:
-
Protein
Include meat, eggs, dairy, legumes, nuts, and seeds in your daily diet. Protein-rich foods promote stronger nail growth, which is essential for long-lasting manicures.
-
Biotin (Vitamin B7)
It is known that Biotin helps improve nail thickness and reduce brittleness. If you have strong nails, they are less likely to split, peel, or break. This then helps your nails have a better surface for manicures! To ensure that you have enough Vitamin B7 in your diet, eat more almonds, sweet potatoes, spinach, and oats.
-
Iron
Add more red meat, lentils, and fortified cereals to your diet to ensure healthy iron levels. This will help your nails become more durable when you do manicures.
-
Omega-3 Fatty Acids
Your nails need extra moisture, of course! To keep your nail beds nourished and reduce dryness and inflammation, eat more salmon, walnuts, and chia seeds. Trust us, this will help prevent your nails from having cracked cuticles and dry, peeling nails!
-
Collagen
Vitamin C is for Collagen! Eating Vitamin-C-enriched foods like citrus fruits, strawberries, bell peppers, and broccoli helps improve nail structure, making them a better surface for any manicure.
-
Calcium
Thin nails are more likely to break. But worry not! Calcium-riched foods can help your nails become stronger and less likely to become brittle. You may consider adding dairy products, leafy greens, and fortified milk to your daily diet.
Hydration
Hydration plays a crucial role in maintaining healthy nails and the quality of a manicure. Just like your skin, nails, and cuticles need moisture to stay healthy and strong. Without proper hydration, nails become dry and are prone to breakage. So, always remember to drink plenty of water as this can make or break the longevity of your manicure.
Underlying Health Conditions
Underlying health conditions can have a significant impact on the health of your nails. Your nails speak a lot about your overall well-being, and certain medical conditions can lead to nail issues that may shorten the lifespan of a manicure. Here’s how different health conditions can affect your manicure and some nail care tips you may consider doing.
-
Nail Psoriasis
Psoriasis can sometimes cause nail thickening, discoloration, and plitting. This can make it difficult for nail wraps to adhere smoothly.
Nail Care Tips:
-
Be gentle on your nails.
-
Moisturize your nails and cuticles, using nail products designed for sensitive nails.
-
Thyroid Disorders
Hypothyroidism, where the thyroid is underactive, can cause nails to become brittle, dry, and prone to cracking. While its opposite, hyperthyroidism, can make your nails become soft, thin, and more likely to break easily.
Nail Care Tips:
-
Use nail-strengthening formulas for your nails.
-
Drink plenty of water.
-
Consider having a long-term thyroid management plan to improve nail health.
-
Diabetes
High blood sugar levels can cause nail infections, thickening, and slow growth due to circulation issues. Fungal infections are also more common, which can cause discoloration, affecting the appearance of your manicure.
Nail Care Tips:
-
Eat less sugary foods.
-
Use diabetic-friendly nail products instead of those containing harsh chemicals.
-
Maintain good hygiene and moisturize regularly to help keep nails healthy and looking fresh.
-
Eczema or Dermatitis
Skin conditions like eczema can affect the skin around the nails, causing inflammation, cracking, or peeling. In some conditions, it can also cause the nails to become ridged and uneven.
Nail Care Tips:
-
Moisturize the cuticles regularly.
-
Use hypoallergenic and fragrance-free products to avoid irritation.
Prepping Your Nails Based on Your Chemistry
Proper nail preparation is essential for ensuring that your nail wraps or polish adhere well and last longer. The best preparation method will depend on your individual nail chemistry.
Oily Nails
Preparation steps:
-
Cleanse: Use a degreaser or nail cleanser to remove natural oils and dirt from the nail surface.
-
Dehydrate: Apply a nail dehydrator to help remove any remaining moisture and oil.
-
Prime: Use a nail primer or base coat specifically designed for oily nails to improve product adhesion.
Dry Nails
Preparation steps:
-
Moisturize: Apply a cuticle oil or hand cream to hydrate your nails and the surrounding skin. However, avoid applying oil right before or immediately before applying nail wraps or polish, as this can interfere with adhesion.
-
Buff gently: Use a fine-grit nail file to gently buff the nail surface to remove any rough spots.
-
Strengthening base coat: Apply a strengthening base coat to help improve the durability of your nails and enhance product adhesion.
Ridged or Grooved Nails
Preparation steps:
-
Buff: Use a fine-grit nail file or a buffing block to gently smooth out ridges and grooves.
-
Ridge filler: Apply a ridge filler to help fill in the gaps and create a smoother surface.
-
Base coat: Apply a base coat to help the ridge filler adhere and provide a smooth base for your nail wraps.
Flexible Nails
Preparation steps:
-
Strengthening base coat: Apply a strengthening base coat to help improve the durability of your nails.
-
Avoid excessive filing: Excessive filing can weaken flexible nails.
-
Gentle application: Apply nail wraps or polish gently to avoid bending or tearing the nails.
Flat Nails
Preparation steps:
-
Buff gently: Buff the nail surface gently to create a slightly rough texture that will help products adhere better.
-
Nail primer: Use a nail primer specifically designed for flat nails to improve adhesion and help prevent lifting.
-
Thick base coat: Apply a thick base coat to help build up the nail surface and provide a stronger base for your nail wraps or polish.
-
Avoid excessive filing: Excessive filing can weaken flat nails.
Additional tips:
Avoid thin coats: Apply thicker coats of nail polish or nail wraps to help compensate for the lack of surface area.
Consider textured products: Textured nail wraps can help to add dimension and create a more visually appealing look on flat nails.
Choosing Nail Products Based on Nail Chemistry
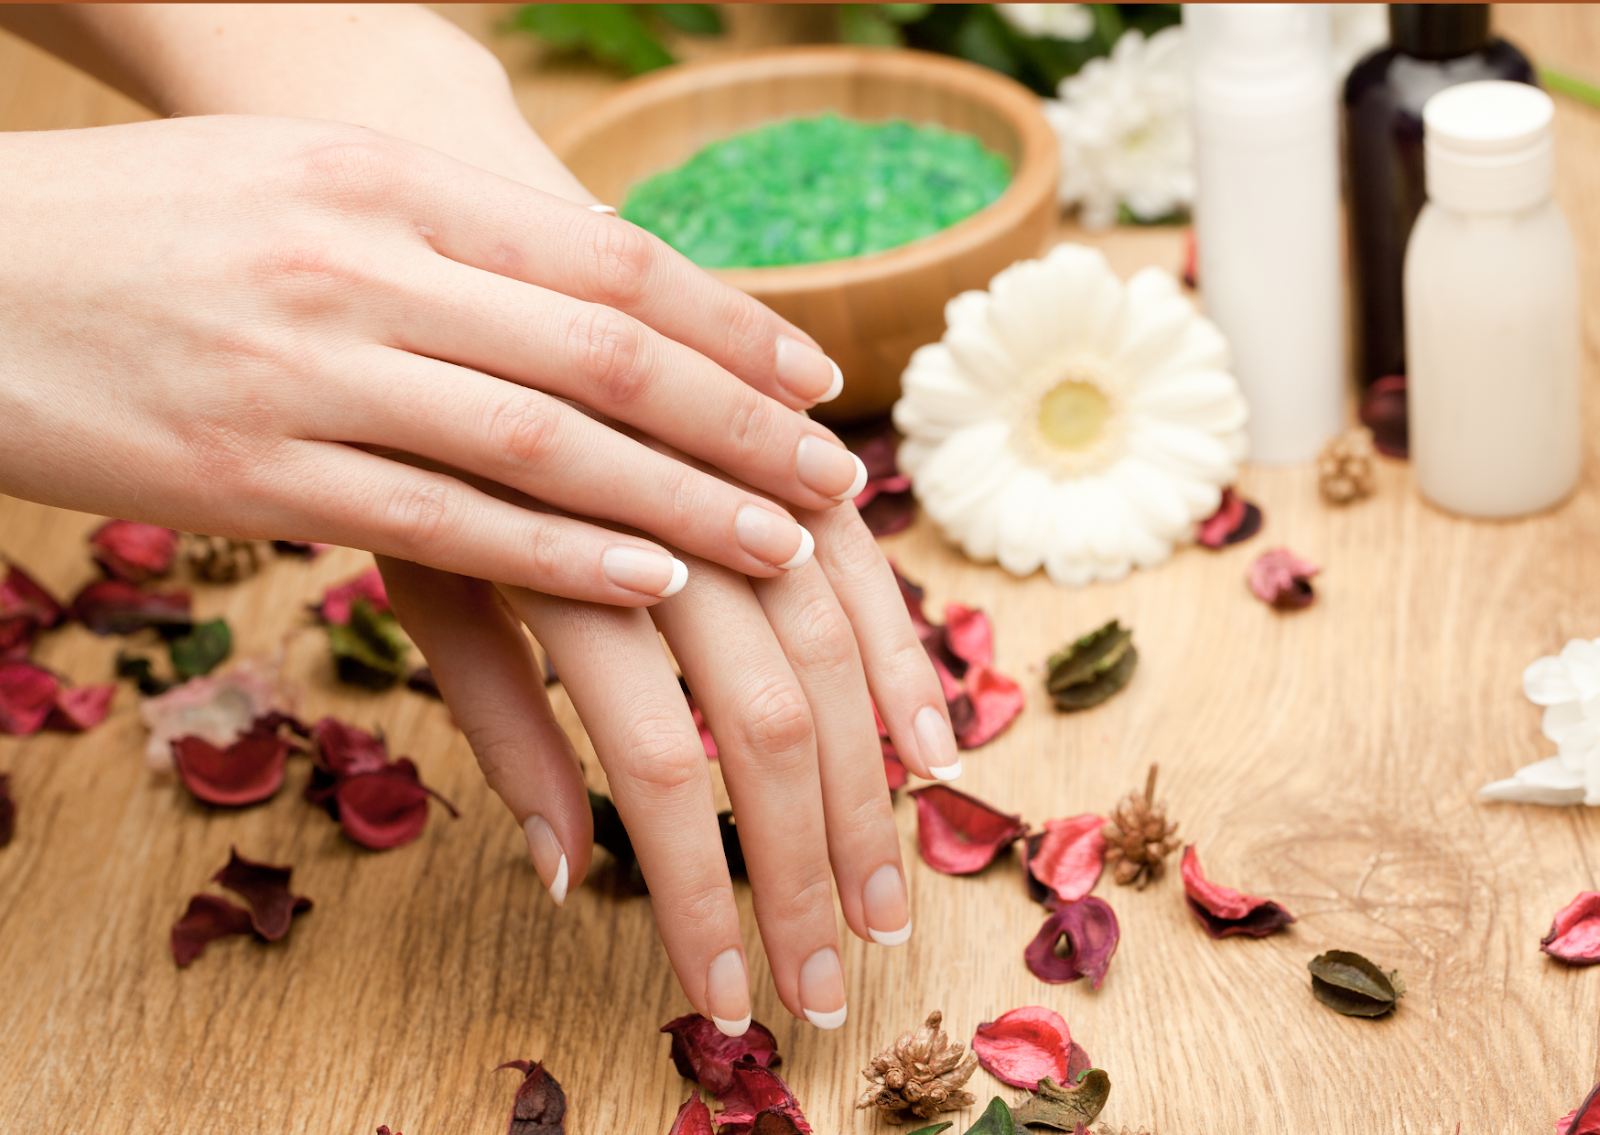
Canva Stock Image
Choosing nail products that suit different nail chemistries can be tricky, as everyone's nails have unique characteristics. Now, let’s explore how to identify your nail type and match it with the best products to ensure beautiful, durable results every time.
For oily nails, it’s best to use an oil-blocking or dehydrating base coat to create a matte, adhesive layer. Choosing a strong and quick-drying top coat will help seal your wraps effectively, too!
On the other hand, for dry and brittle nails, using a base coat that is enriched with ingredients like keratin or biotin will help strengthen them. Nourishing and flexible top coats also help lock in moisture and protect your nails from further drying out.
Lastly, for ridged nails, you may use ridge-filling base coats to smoothen the surface of your nail beds for even application. You may also use a thick, gel-like top coat to further help hide any imperfections.
Maintaining Your Manicure: Post-Application Tips
Once you've applied your nail wraps or polish, there are several steps you can take to help them last longer and maintain their appearance:
Oily Nails
-
Avoid excessive oil exposure: Try to limit your hands' exposure to oily substances, such as cooking oil or lotion, especially before applying nail products.
-
Regular cleansing: Cleanse your nails thoroughly with a degreaser or nail cleanser before applying any products.
Dry Nails
-
Regular moisturizing: Keep your nails and the surrounding skin hydrated by applying a cuticle oil or hand cream regularly.
-
Avoid harsh chemicals: Limit your exposure to harsh chemicals, such as detergents and nail polish removers.
Ridged Nails, Flexible Nails, And Flat Nails
Avoid Water Exposure
-
Limit handwashing: Try to minimize handwashing, especially with hot water, as water can weaken the adhesive.
-
When doing dishes, cleaning, or gardening, wear gloves to protect your nails from moisture and harsh chemicals.
-
Avoid soaking your nails in water for extended periods, such as taking long baths or showers.
Handle with Care
-
Be cautious when engaging in activities that could damage the wraps, such as typing, scrubbing, or opening packages.
-
Avoid pulling or picking at the wraps, as this can cause them to lift or peel.
Maintain Cleanlines
-
Wipe away excess moisture: If your nails get wet, gently wipe away any excess moisture with a soft cloth.
-
Avoid harsh chemicals: Use gentle nail polish removers and avoid exposure to harsh chemicals that can weaken the adhesive.
Touch-ups
-
Seal the edges: If you notice any lifting around the edges of the wraps, apply a thin layer of clear nail polish to seal them.
-
Touch-up chips: If a chip occurs, you can use a matching nail polish to touch up the area.
Understanding your unique nail chemistry is key to achieving long-lasting, beautiful manicures and pedicures. Just like our hair or skin, everyone's nails are different, and figuring out what works best for you can make all the difference in how well your manicures last and how healthy your nails stay. Nail chemistry involves factors like moisture levels, nail strength, and even natural oils, all of which can affect how products adhere to your nails and how long they last.
By paying attention to your nails' unique needs, you can prevent common issues. The more you understand your nail chemistry, the better equipped you'll be to choose the right products and techniques for a flawless look that lasts. Whether your nails are naturally oily or tend to dry out quickly, selecting the right treatments can transform your routine.
Exploring different prep methods is a fantastic place to start. Some may find that buffing their nails beforehand helps wraps stick better, while others benefit from a primer or dehydrator to remove excess oils. Also, consider experimenting with various base coats, top coats, and nail wraps designed for your nail type to ensure your manicure or pedicure stays beautiful for days on end.
Don't hesitate to experiment with different combinations of products and techniques to discover what works best for you. Everyone's nail chemistry is unique, and finding that perfect match may take some trial and error—but it's well worth it! With the right approach, you’ll be able to enjoy a flawless, long-lasting manicure or pedicure every time.
Ready to perfect your nail routine? Start experimenting today with new prep techniques, nail wraps, and treatments based on your nail chemistry. The perfect manicure or pedicure is waiting for you!

Also in Blog

Bridesmaid Nails Made Easy with Lily & Fox
There’s something about a June wedding that feels effortless in the best way. The weather cooperates, the light lingers a little longer, and everything seems to glow just right. Gardens are in full bloom. Outdoor ceremonies feel natural instead of risky. Even the smallest details—like the way a bouquet looks against a soft sunset—feel elevated without trying too hard.

Solid Color Nail Wraps: The Ultimate Guide to Effortless Style and Everyday Elegance
At Lily & Fox, solid color nail wraps continue to be customer favorites for a reason. They are incredibly versatile, easy to style, and reliable for everyday wear. Solid wraps can stand beautifully on their own or serve as the foundation for more creative nail designs. They are perfect for beginners who want a simple, flawless manicure and equally loved by experienced nail enthusiasts who enjoy experimenting with combinations and finishes.

What's Your Nail Health Score?
Be honest — when was the last time you really thought about your nail health?
If your answer is somewhere between “uh…” and “only when one breaks five minutes before an event,” you’re definitely not alone.
The good news? You don’t need a microscope or a salon visit to get a quick read on how your nails are doing.
That’s where this quiz comes in.
In just a couple of minutes, you’ll:
- Discover your Nail Health Score
- Learn what your score actually means
- Get personalized tips to help your nails grow stronger
- Pick up easy habits that make a big difference


Rebecca Fox
Author